Uploading an Ableton Project Folder
Already programmed the song in Ableton Live? Choose the project folder in the uploader (Chrome), leave analysis unticked, and Pliris reads your stems, sections, tempo and time signature changes. No zip needed.
If a song is already programmed in Ableton Live (stems loaded, locators or section markers, tempo and time signature changes), upload the project instead of its stems. Pliris reads your sections, tempo and time signature changes straight from it, so you don't spend analysis credits on work you've already done.
Watch the lesson: this article goes with Upload an Ableton Live project, part of the Using Pliris to Program, Practice, and Perform course.
The most common mistake is uploading the stems like any raw-stem song and then dropping the .als file on afterward. Nothing breaks, but it costs credits and editing time you don't need.
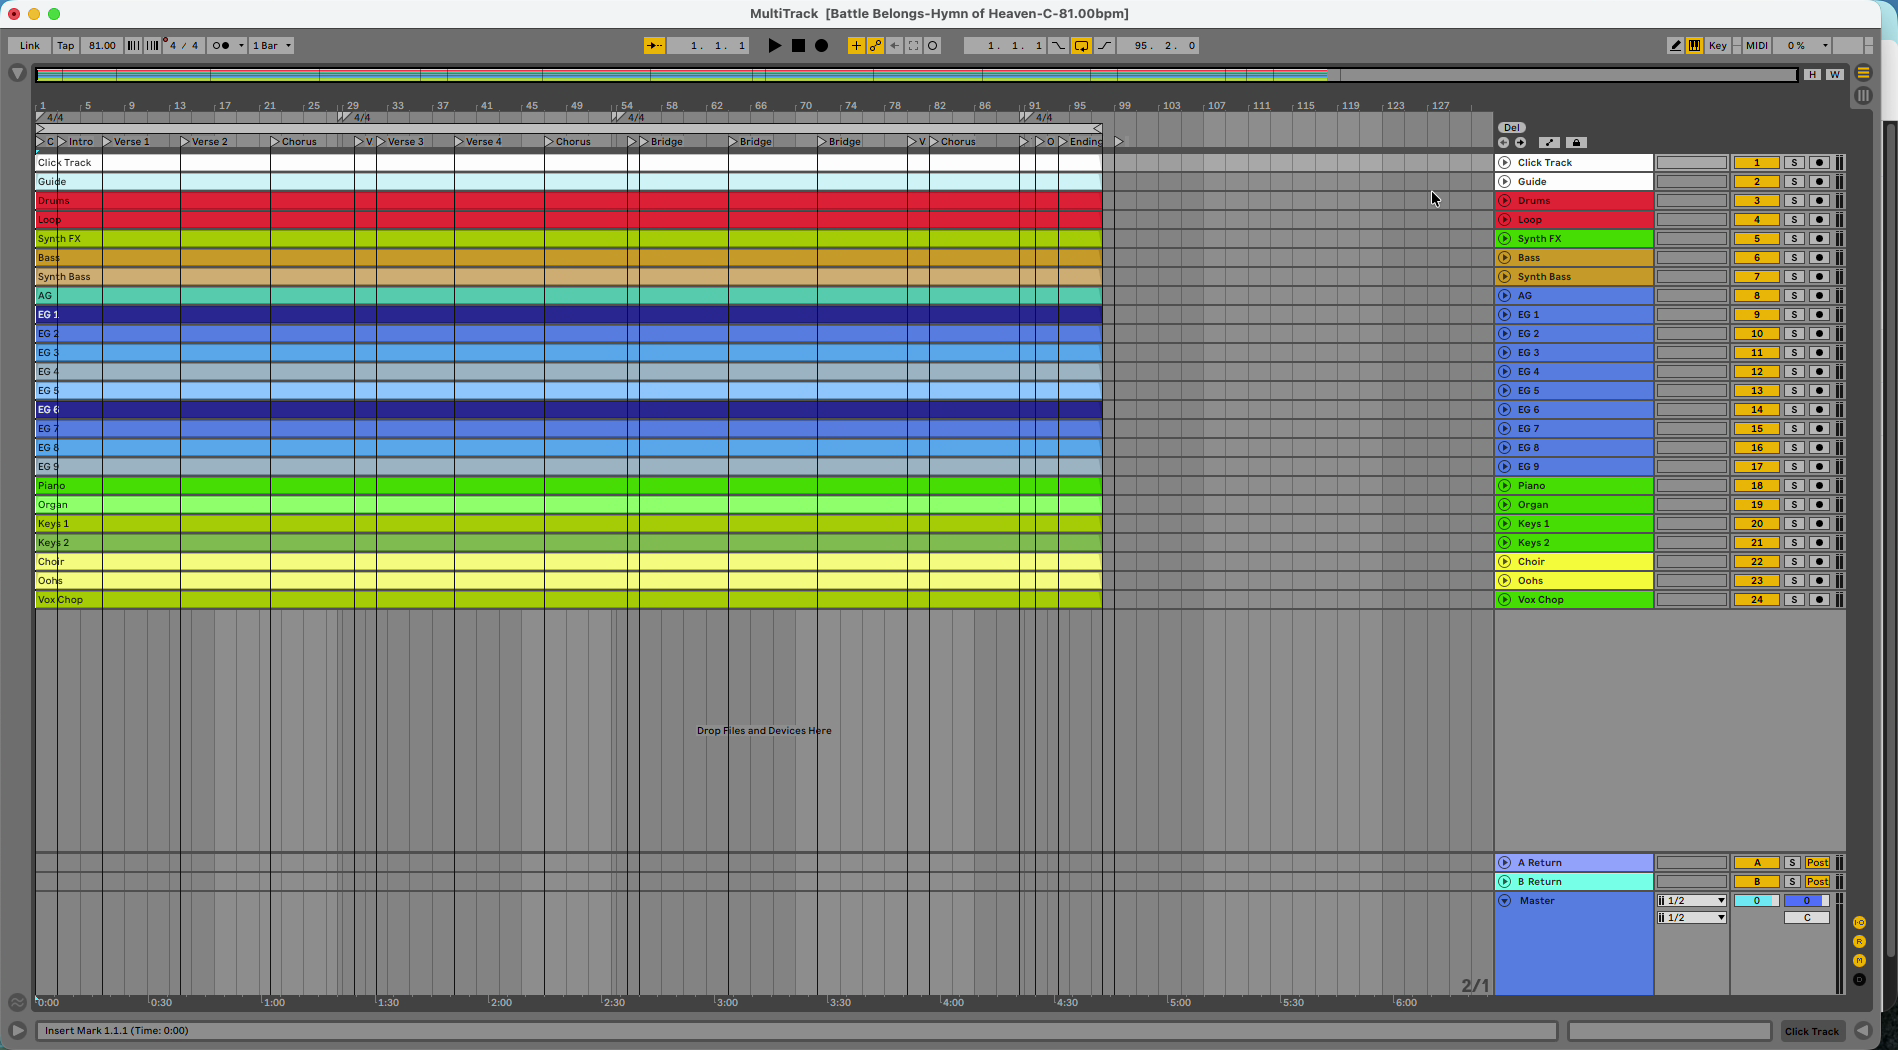
Before you start
- Use Chrome. Choosing a project folder works differently in Safari.
- This is for a single song. Full Ableton sets are imported differently.
Upload the project folder
- In your band, click Add song, name it, and click Add song.
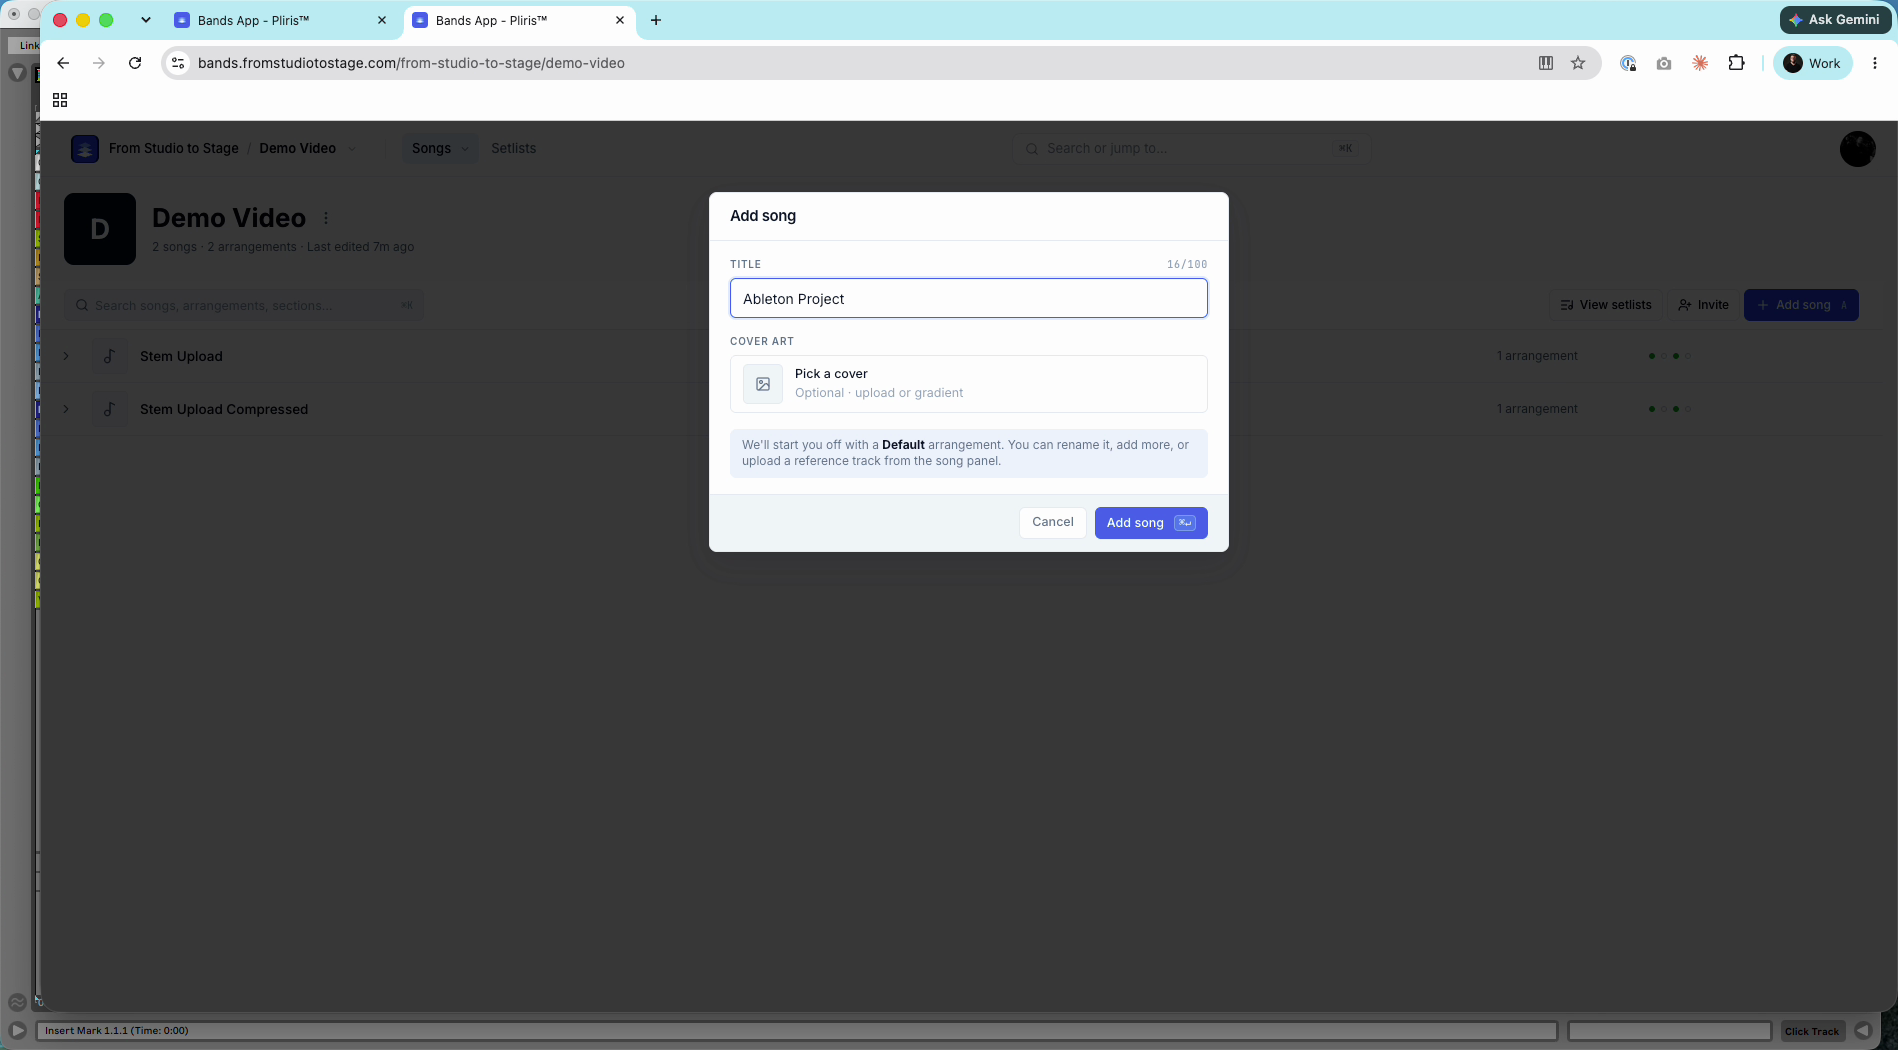
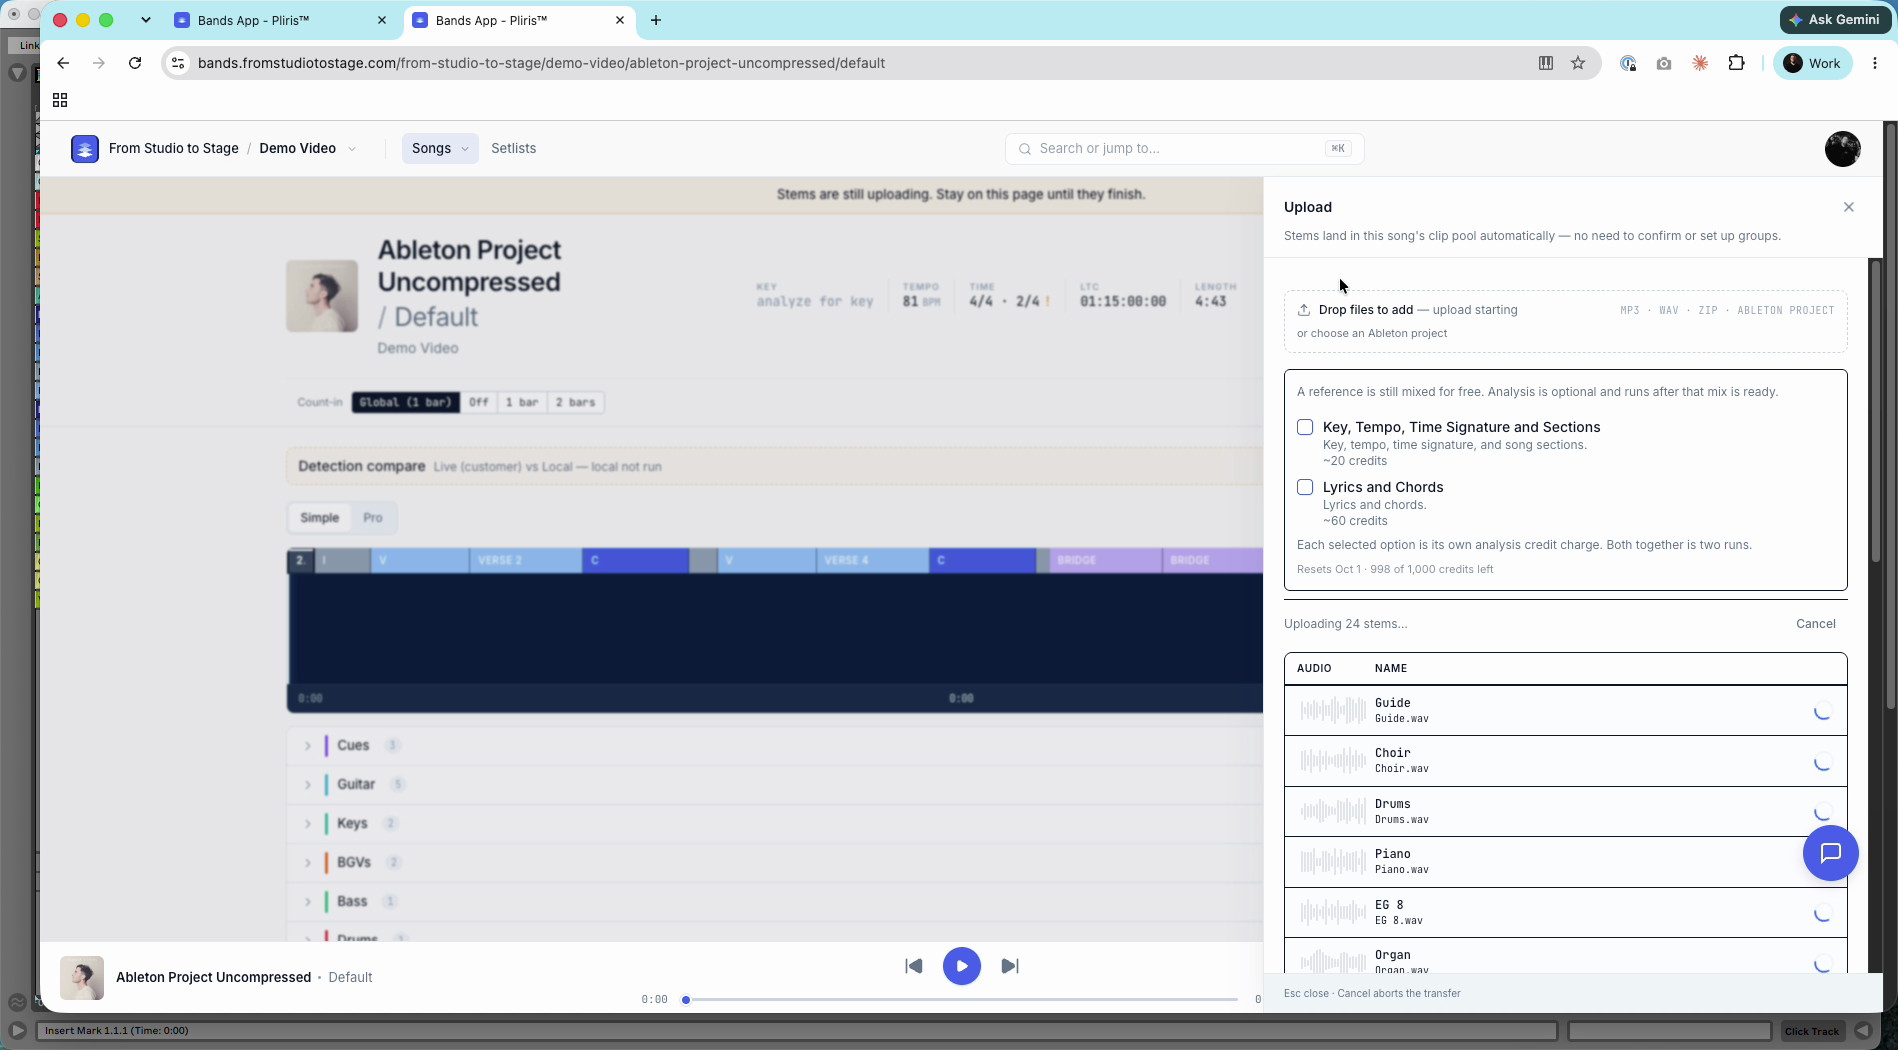
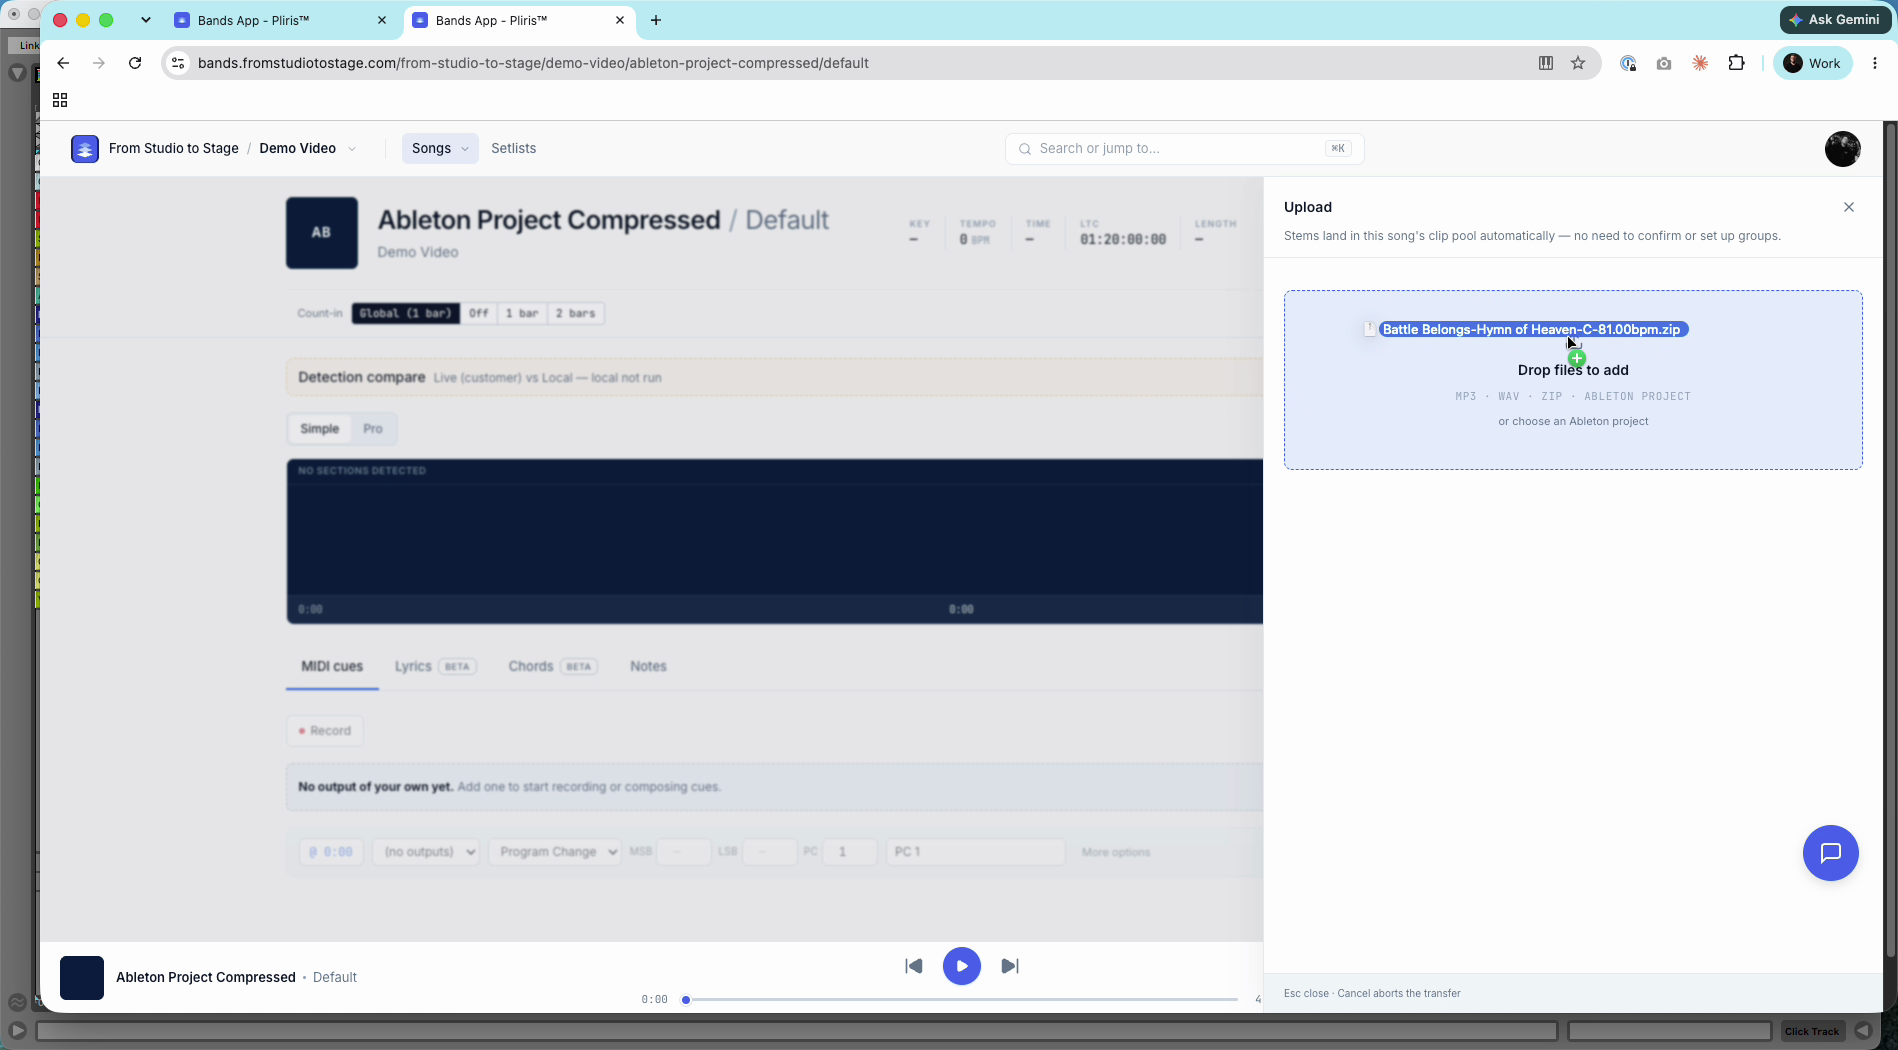
- In the Upload panel, click or choose an Ableton project (under Drop files to add).
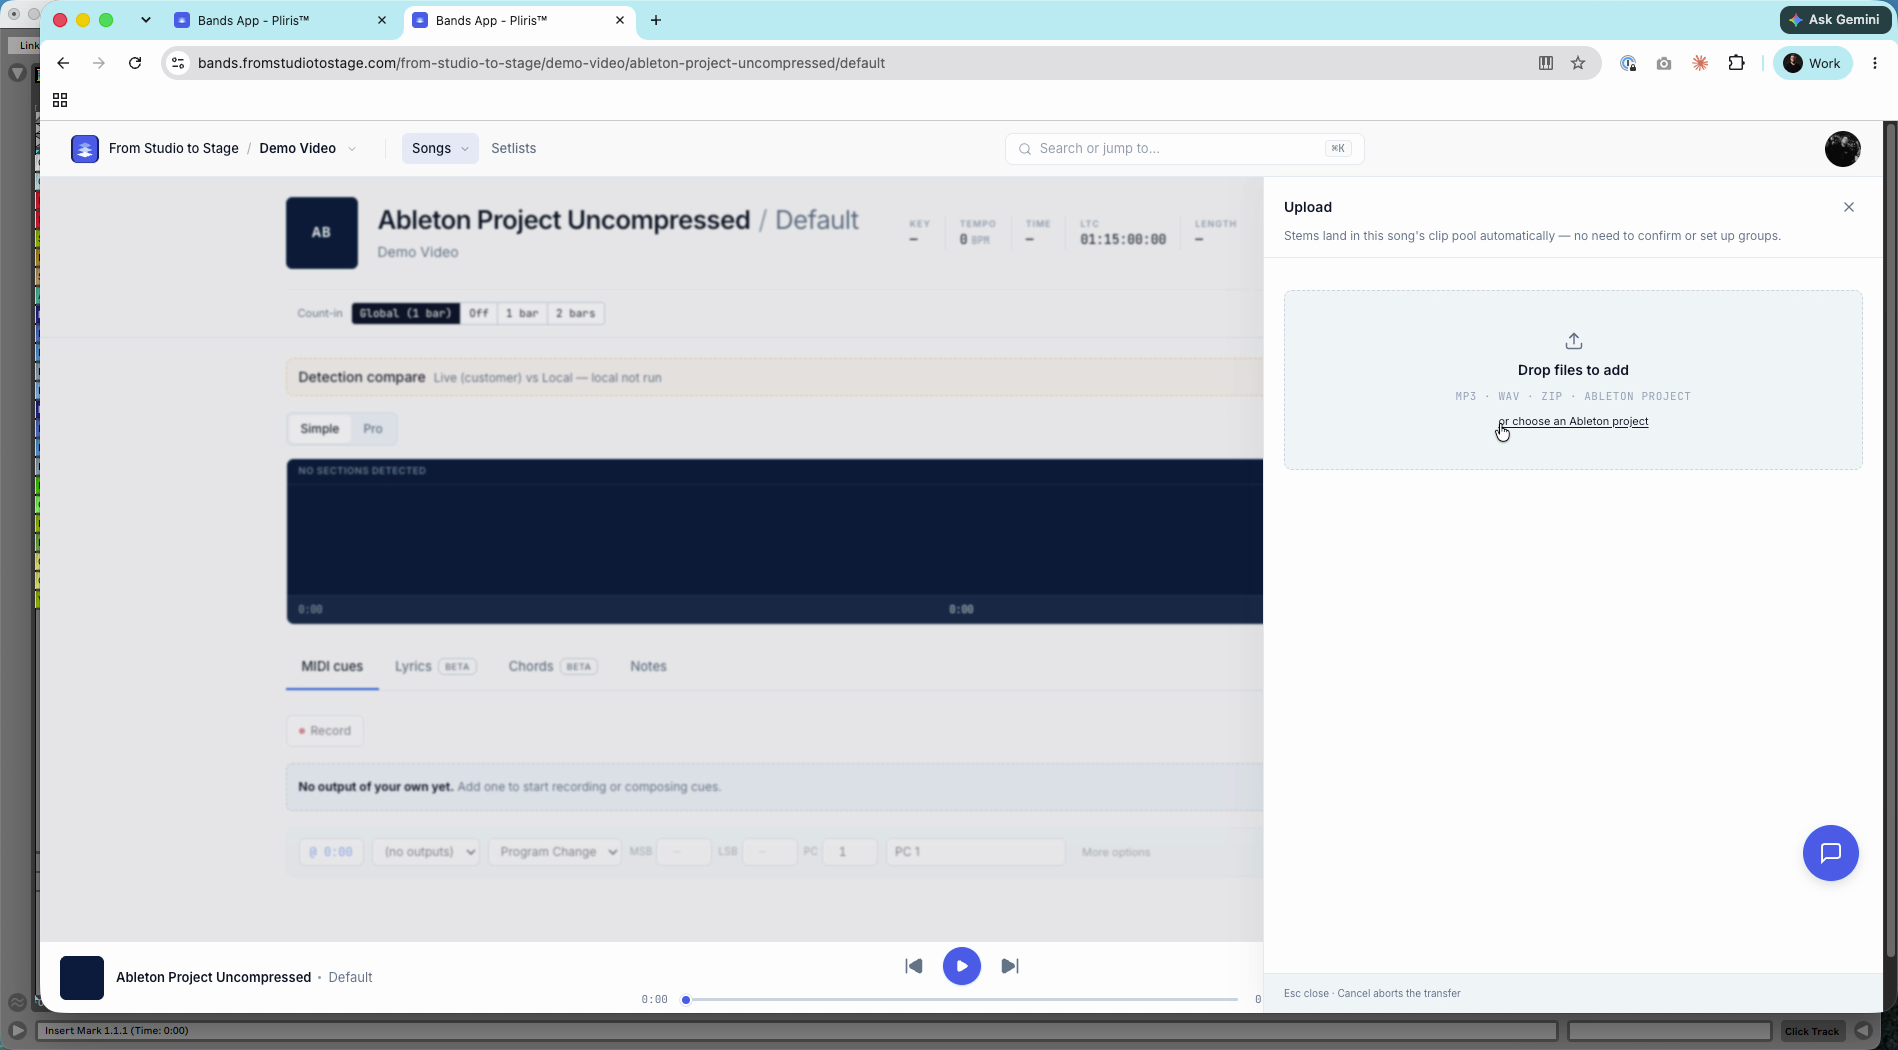
- Find the project's folder, select it, and click Select. If Chrome asks whether the site can view the folder, click Allow.
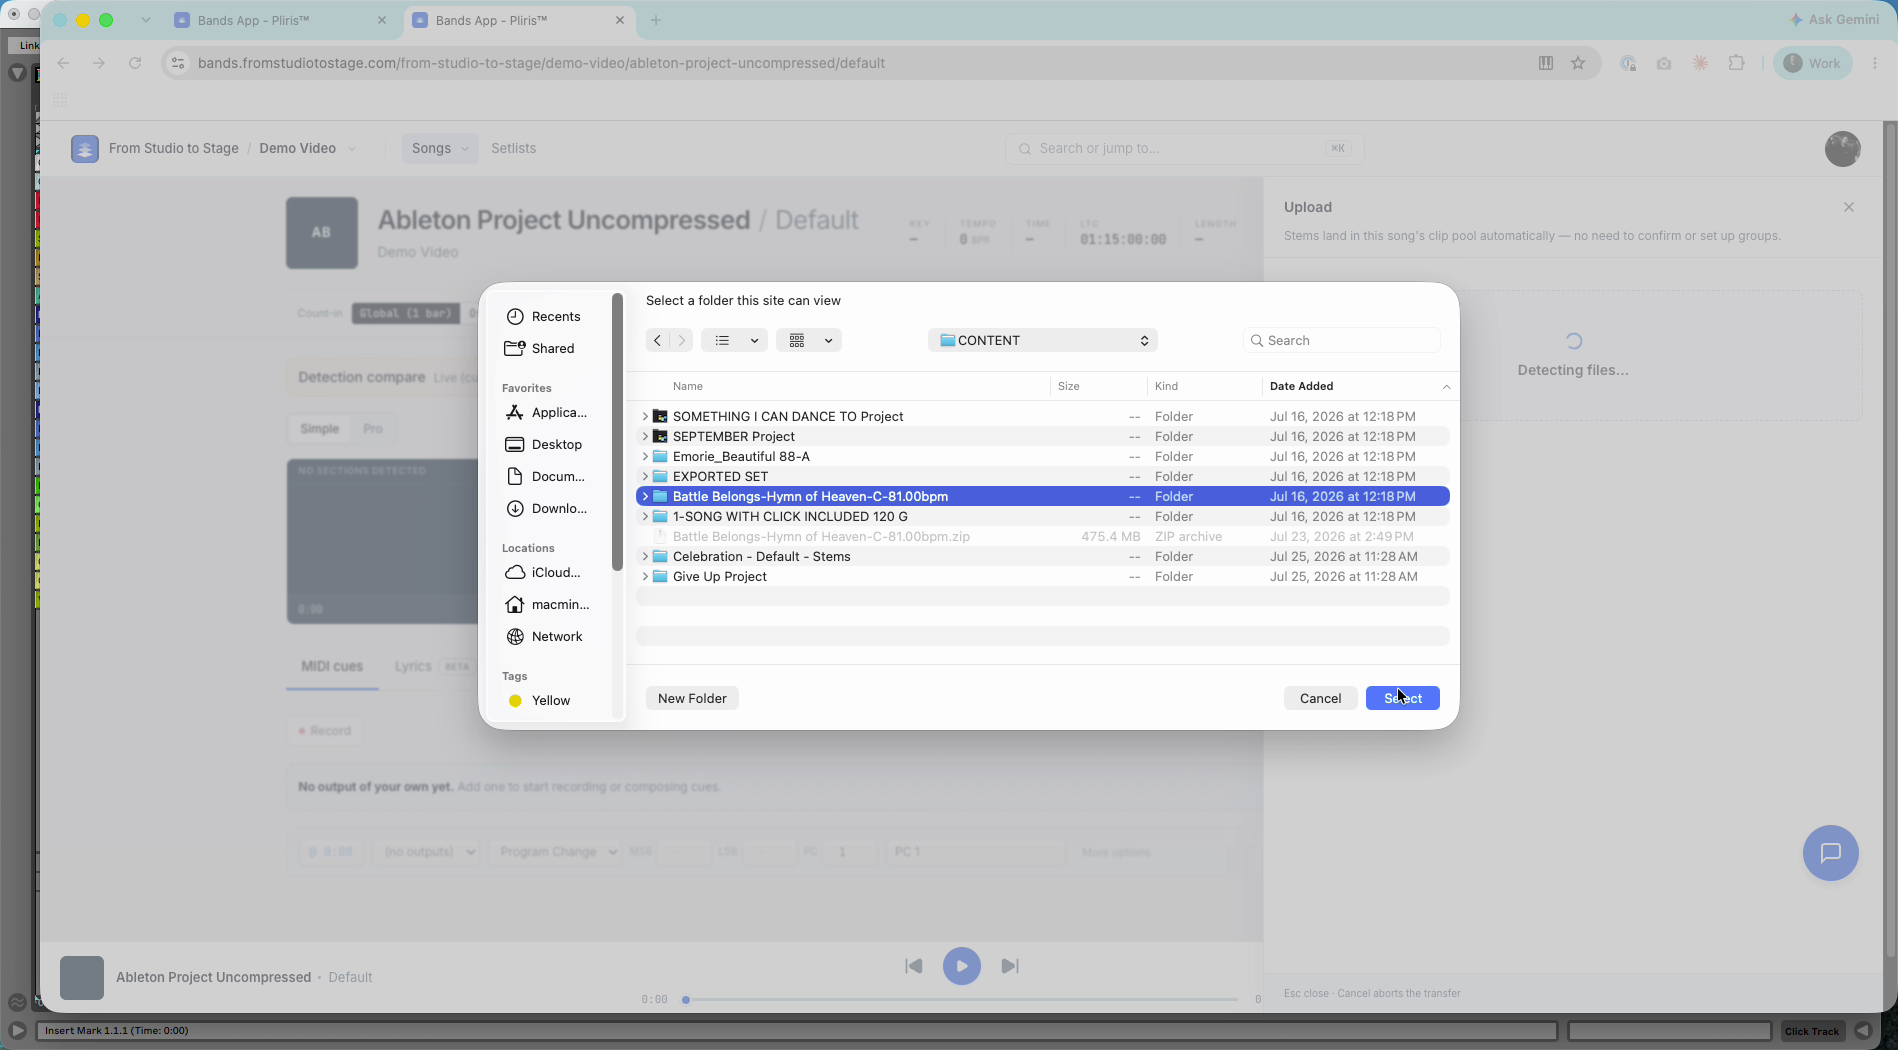
- Leave Key, Tempo, Time Signature and Sections unticked. Your project already has them. Tick Lyrics and Chords only if you want lyrics and chords.
- Stay on the page until the stems finish uploading.
What you get
Song sections, tempo and time signature changes come from your Ableton file. Press Tab on the song page to see the time signature changes on the timeline.
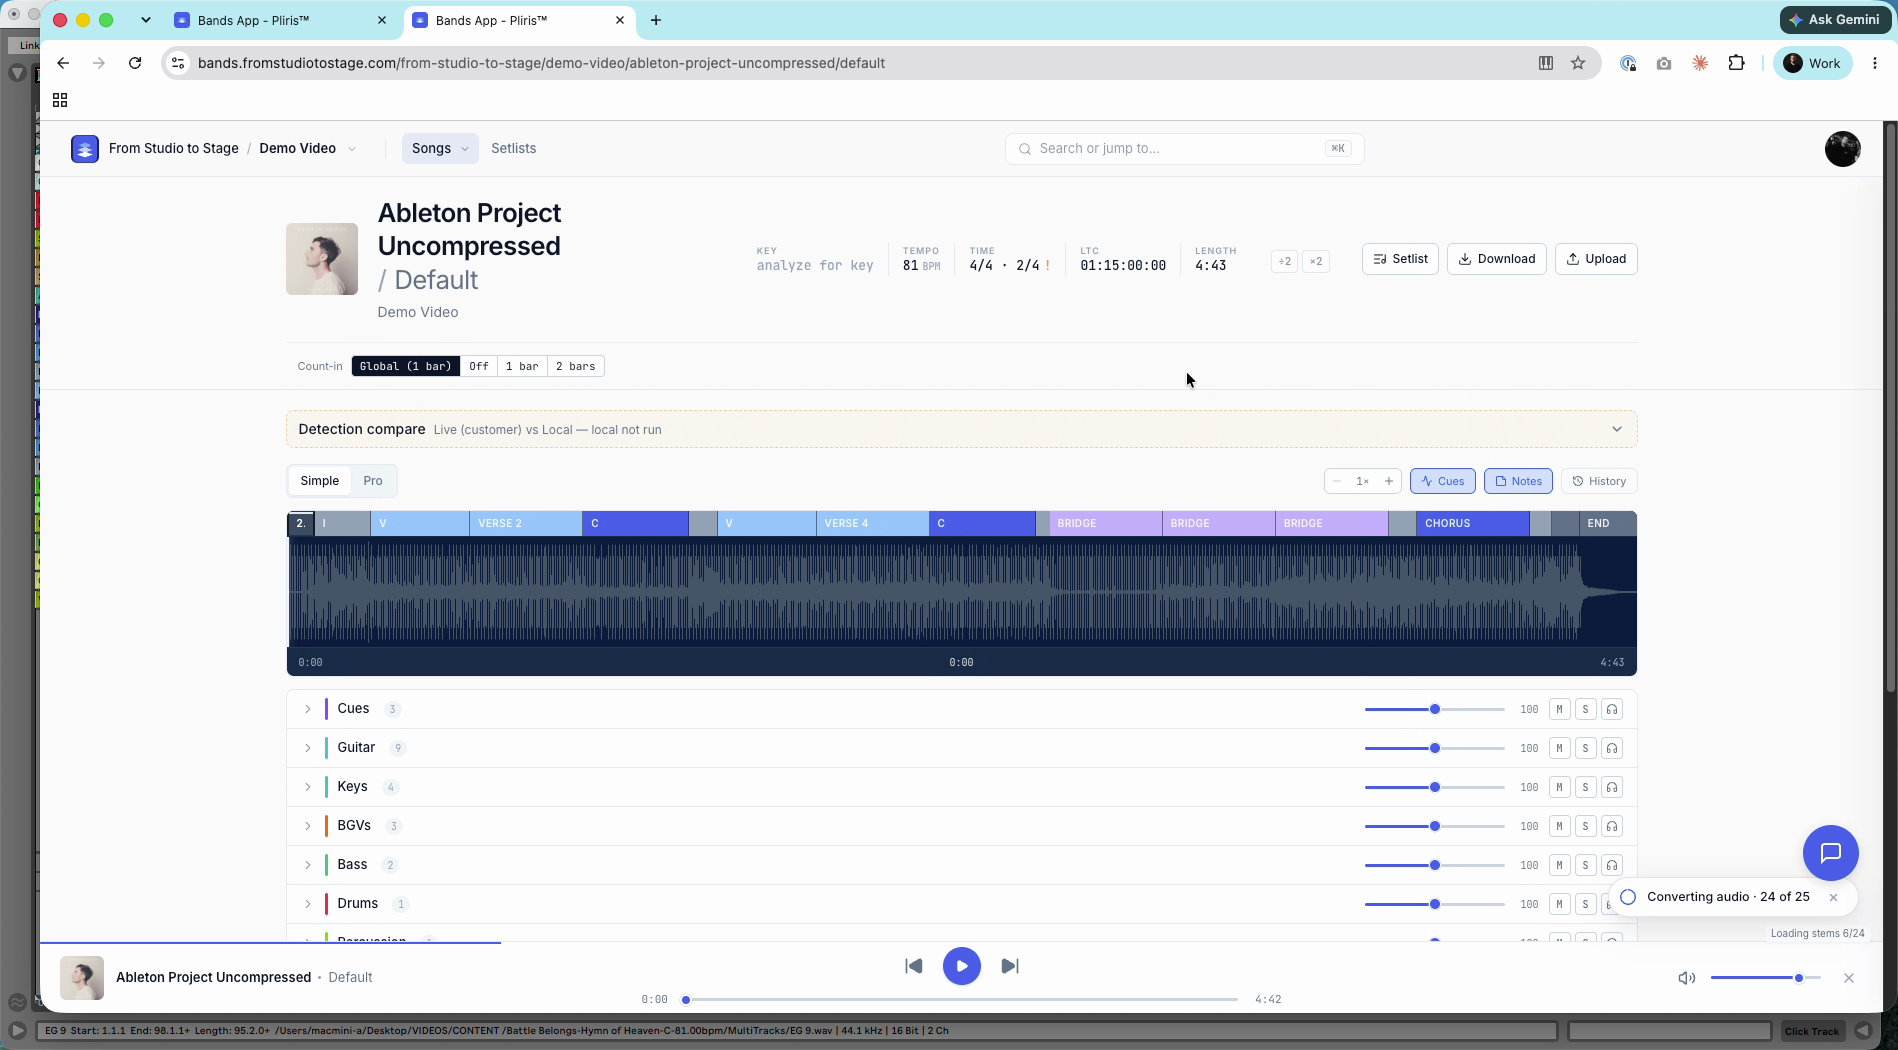
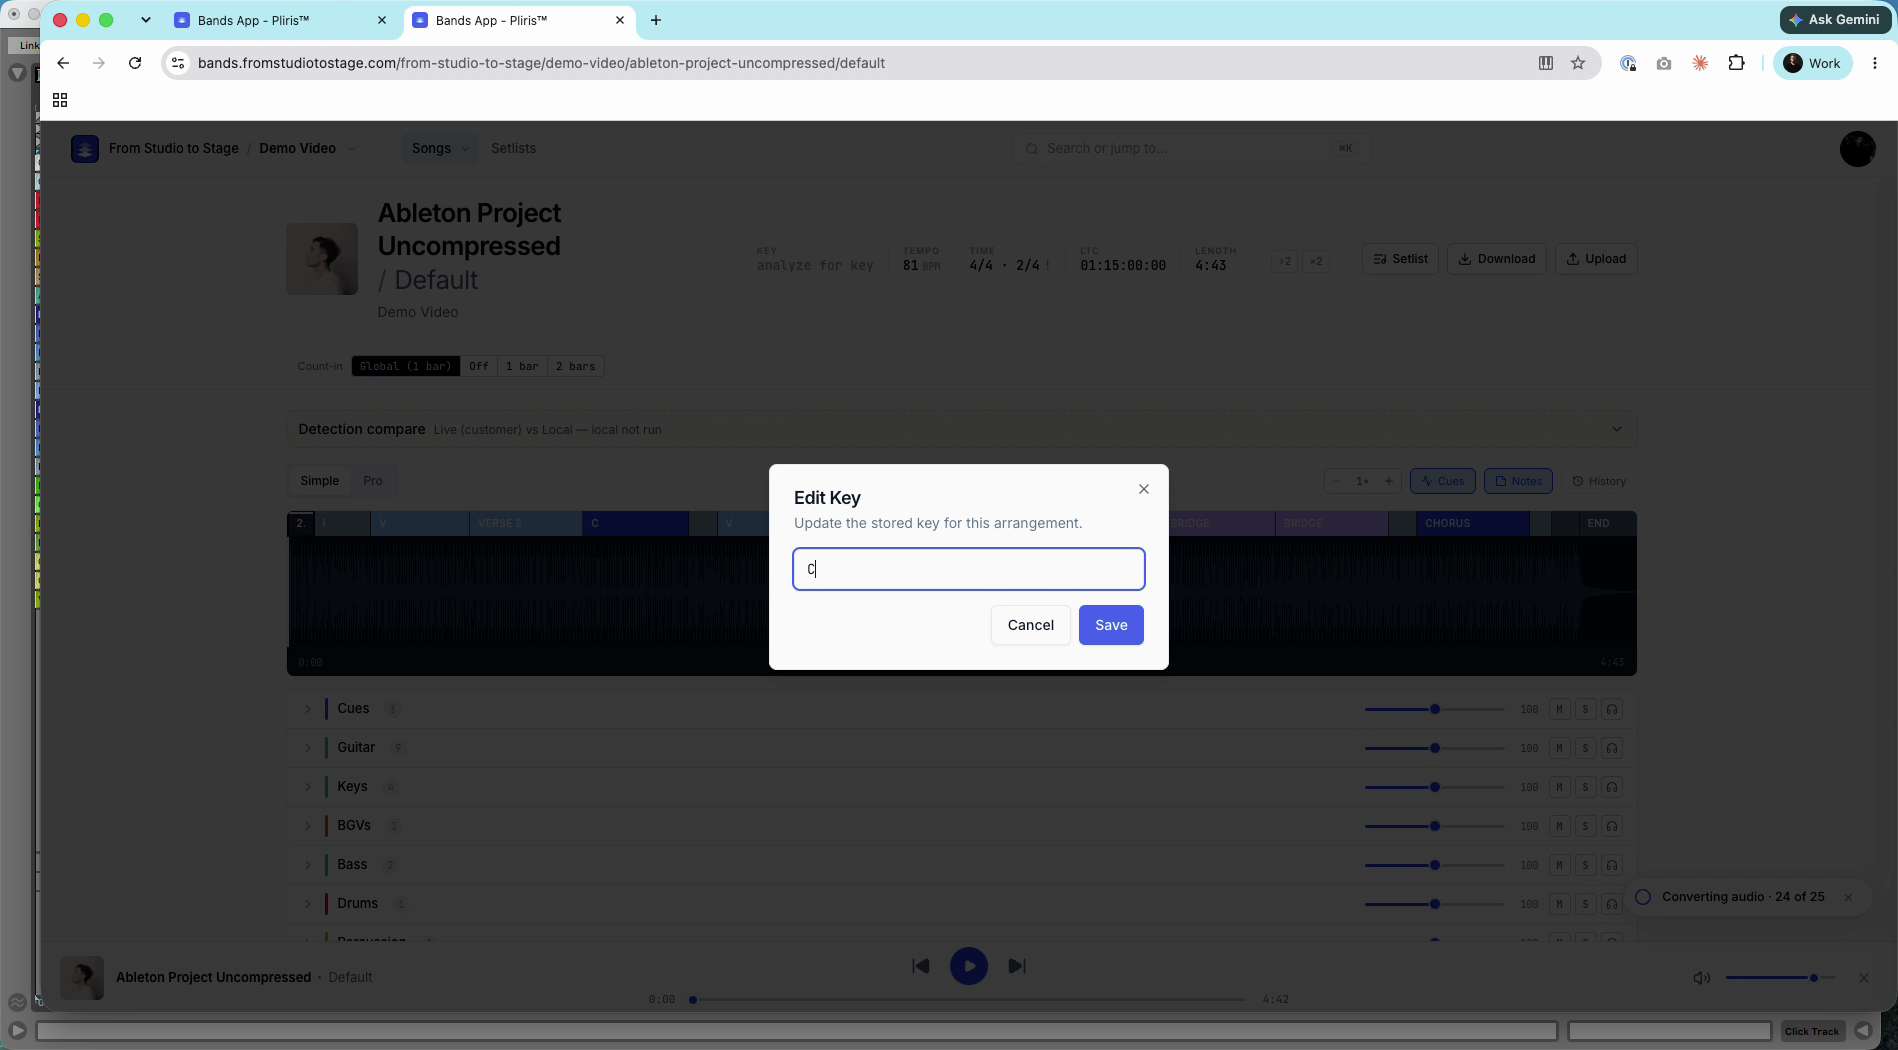
Without analysis, the key shows analyze for key. If you know the key, right-click it, type it in, and click Save.
Your click, guide, and Pliris's cues
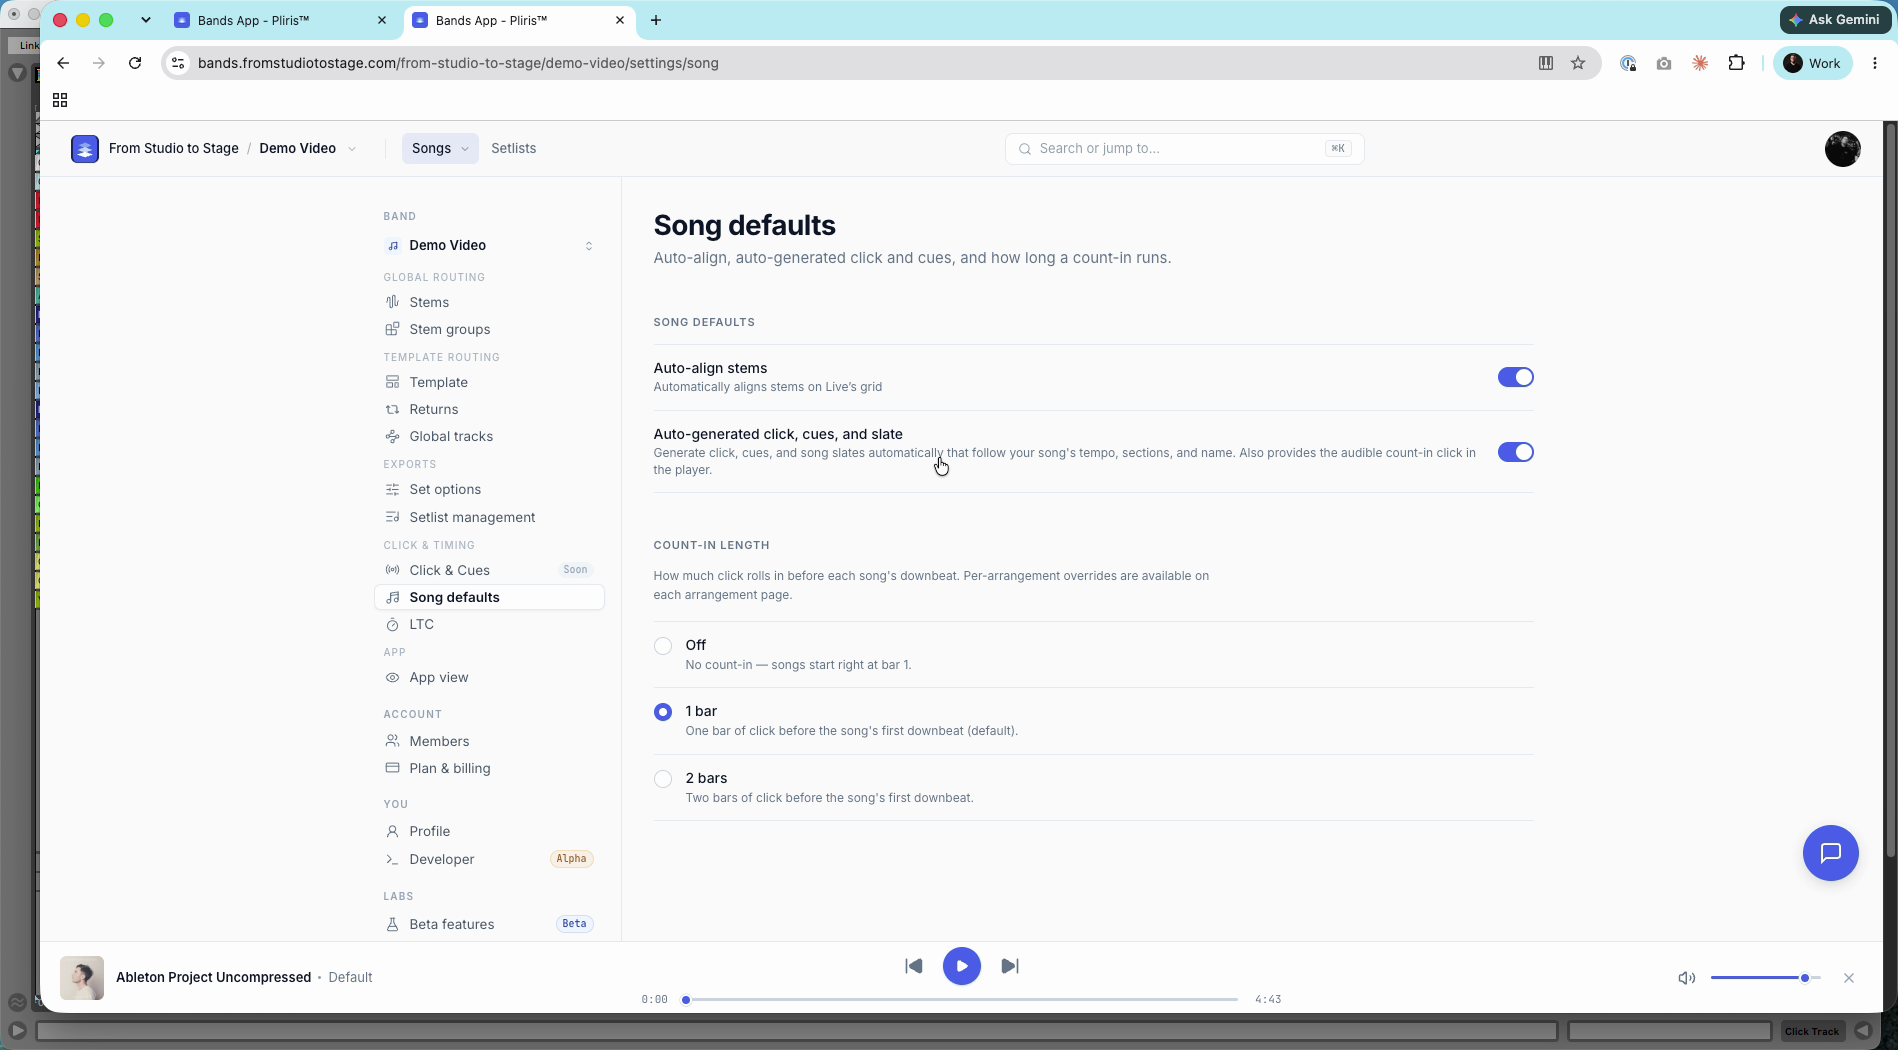
When Auto-generated click, cues, and slate is on in Settings → Song defaults, Pliris generates a click, cues, and song slates that follow your song's tempo, sections and name. Your uploaded click and guide cue are muted, so the click sounds the same when you download the song and when you upload it again. Leave the setting on.
If your project is already a .zip
You don't need to compress a project. If it's already compressed, drag the .zip onto Drop files to add. Pliris pulls the stems and the .als out of it and you get the same result. If you do compress a project, run File → Collect All and Save in Ableton first, so every sample is inside the folder. See Importing a Song from Ableton Live.
Frequently asked questions
Do I need analysis credits to upload an Ableton project?
No. Sections, tempo and time signature changes come from your project, so leave Key, Tempo, Time Signature and Sections unticked. Tick Lyrics and Chords only if you want lyrics and chords.
Should I upload my stems and then add the .als file?
No. Upload the project folder with or choose an Ableton project. Uploading stems first spends credits and editing time you don't need.
Do I have to zip my Ableton project?
No. In Chrome, choose the project folder directly. If it's already a .zip, you can drag that onto the uploader instead.
Why is the key empty after uploading?
Pliris doesn't read the key from Ableton. Right-click the key on the song page and type it in. No analysis needed.
Why is my own click muted?
The Auto-generated click, cues, and slate song default is on, so Pliris plays its own click and cues. That keeps the click consistent between downloads and uploads.