The Files Desktop App
Keep your Pliris songs and sets on your Mac, ready for Ableton: choose bands, songs and sets to sync, keep two playback computers matched over Pliris Network, and turn every save in Live into a version you can go back to.
Files puts your Pliris catalog on your Mac, laid out for Ableton Live. Tick a band, a song or a setlist and it downloads and stays up to date. Save in Live and that version is kept on Pliris. Run it on two playback computers and they keep each other in sync over your local network, with or without internet.
It lives in your menu bar. Once it's set up, you rarely need to open its window.
This article is about the Files desktop app for Mac. For the Files web app at files.fromstudiotostage.com (uploads, your Inbox and invite links), see The Files App.
What you need
- A Mac, and the Files app from the beta apps page.
- Your Pliris account. Files uses the same account as the website.
- Ableton Live, if you want to open the sets Files builds.
Sign in
- Open Files. You'll see Sign in to Files.
- Type the email address you use for Pliris and click Email me a magic link.
- Open the email on this Mac and click the link. It opens in your browser, which hands the sign-in back to Files, and the window signs itself in.
The link is good for 15 minutes. If it doesn't arrive, click Send again, or Use a different email if you typed the wrong one.
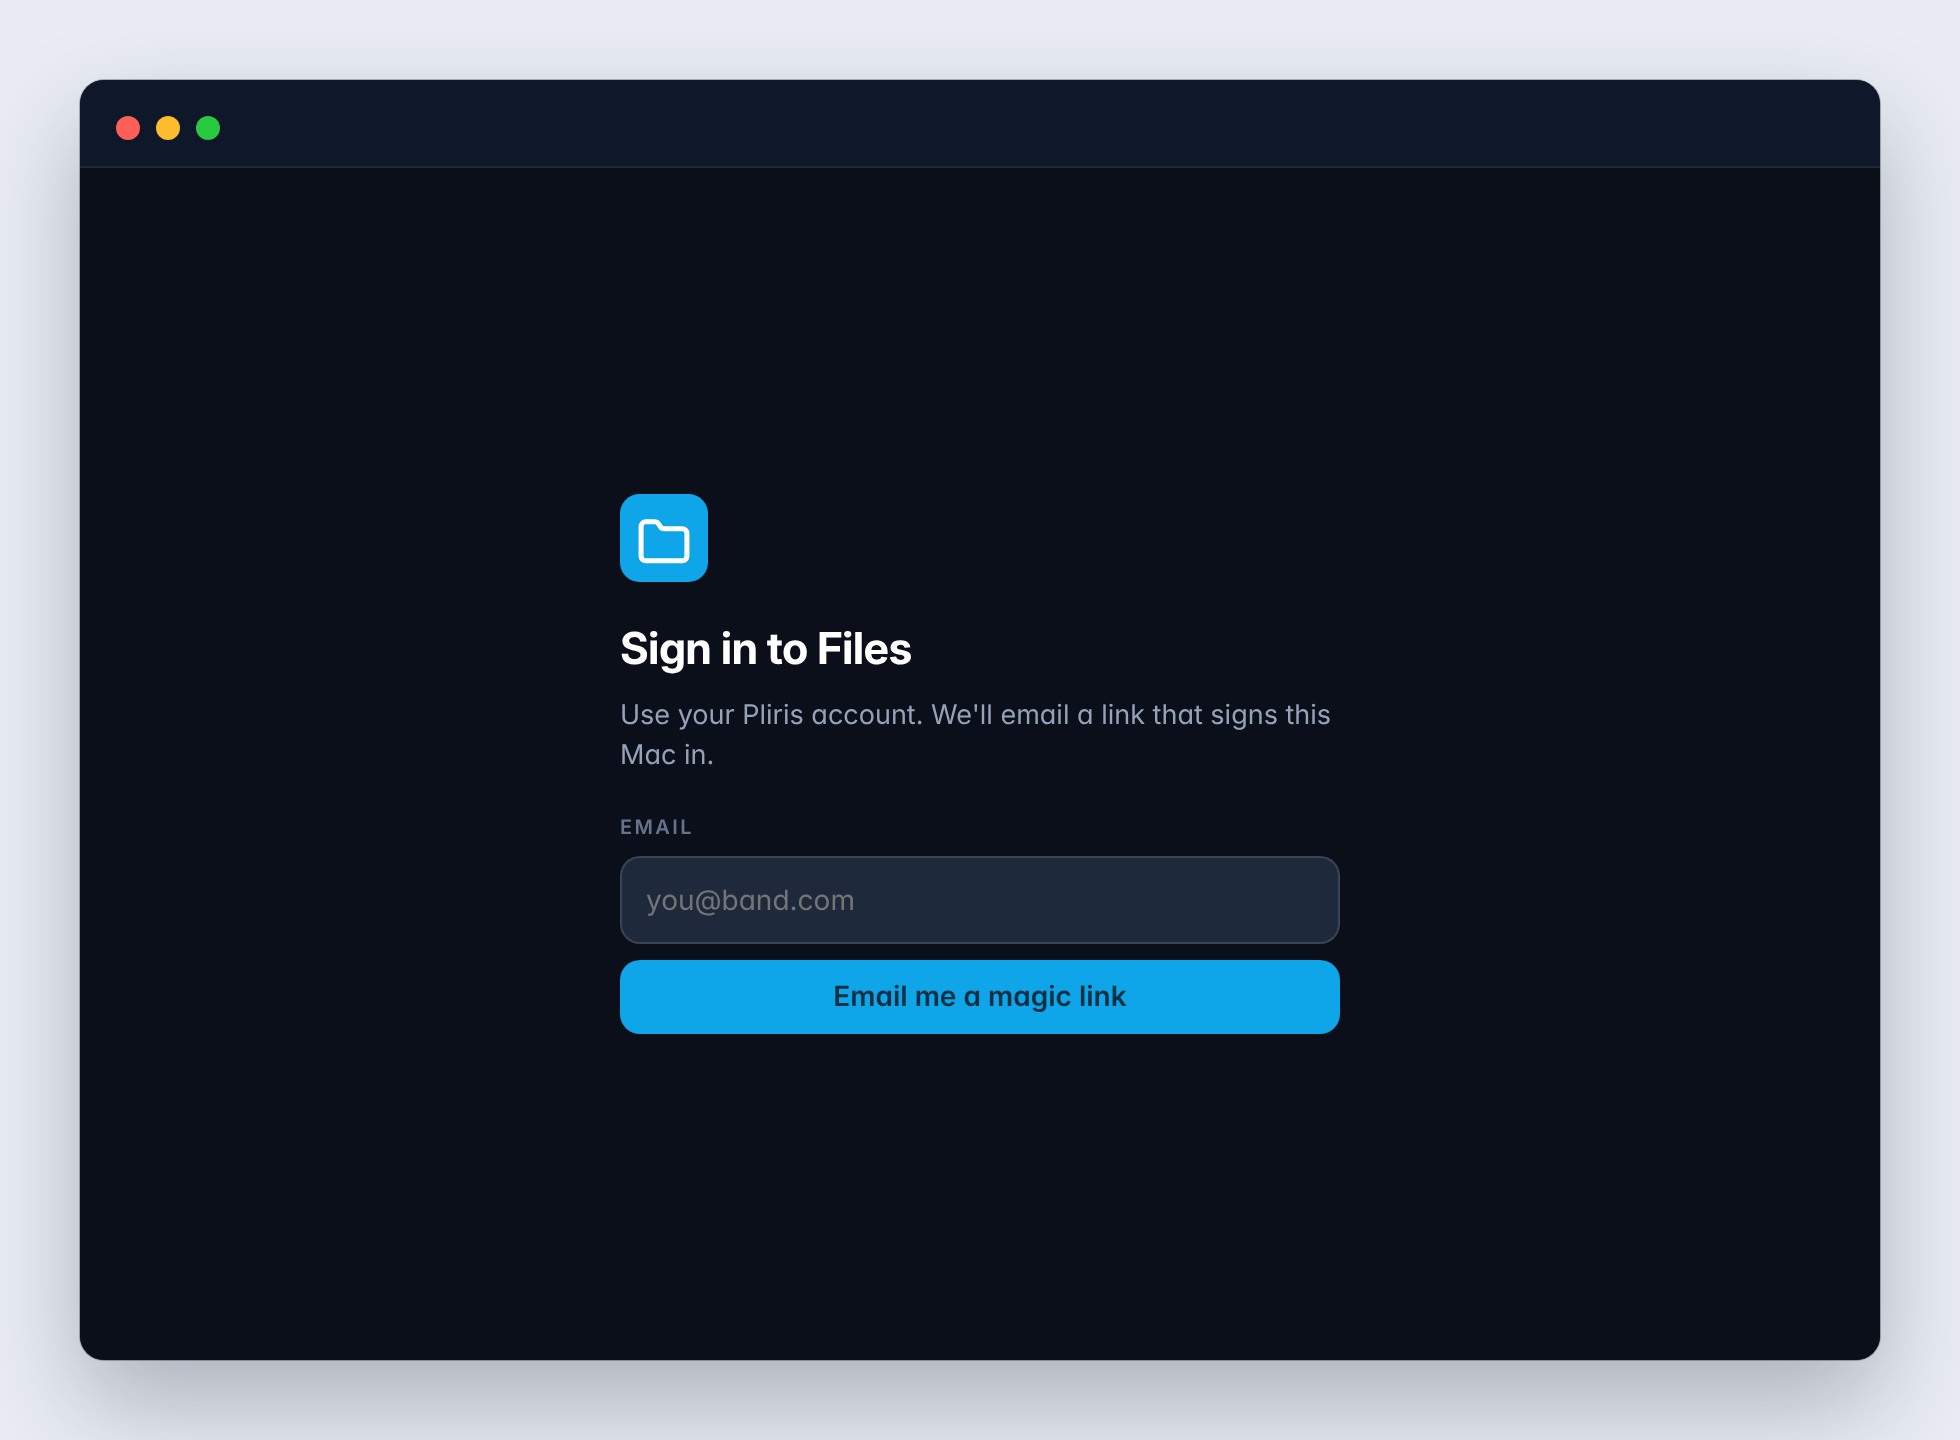
If another Pliris app on this Mac is already signed in, Files offers Continue as with that email instead, so you don't need another link.
Once you're signed in, the window hides itself and Files keeps running in the menu bar. For more on how desktop sign-in works, see Signing in to the desktop apps.
Choose what lives on this computer
Open the Files window from the menu bar icon (Open Files, or Choose Bands & Songs…) and go to the Sync on this computer tab. Every band you belong to is listed.
- Tick a band to keep everything in it on this Mac, including songs and sets you add later.
- Untick the band and tick individual songs and sets to keep only some of them. Click Show songs to see what's in a band.
Ticking is the download. There's no separate download button: tick it, and Files fetches it and keeps it current.
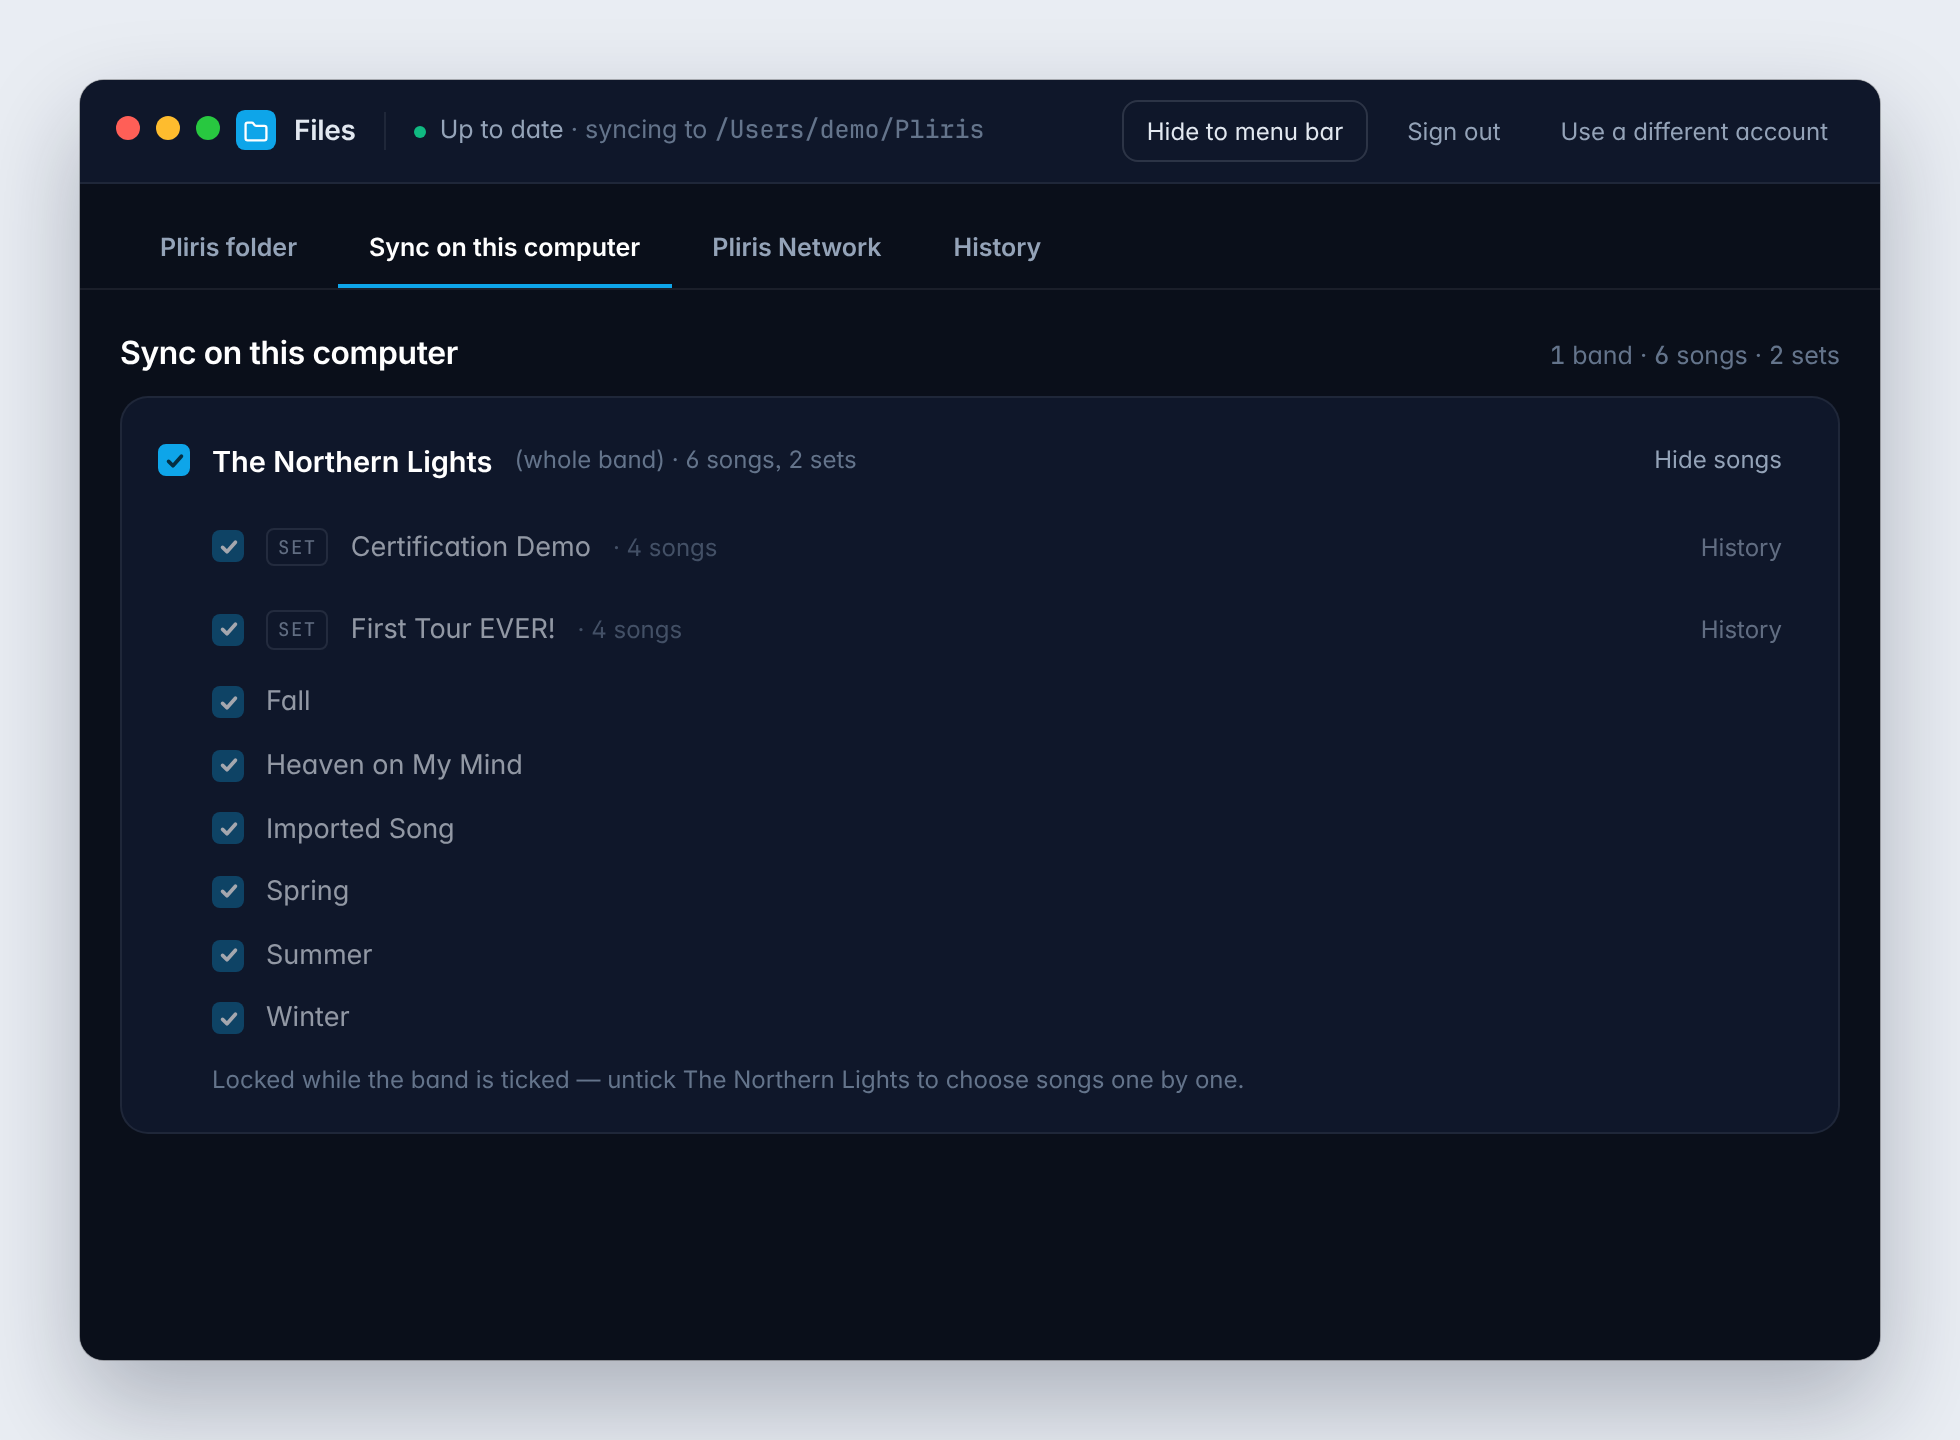
While a whole band is ticked, its songs and sets are locked on. To choose songs one by one, untick the band first.
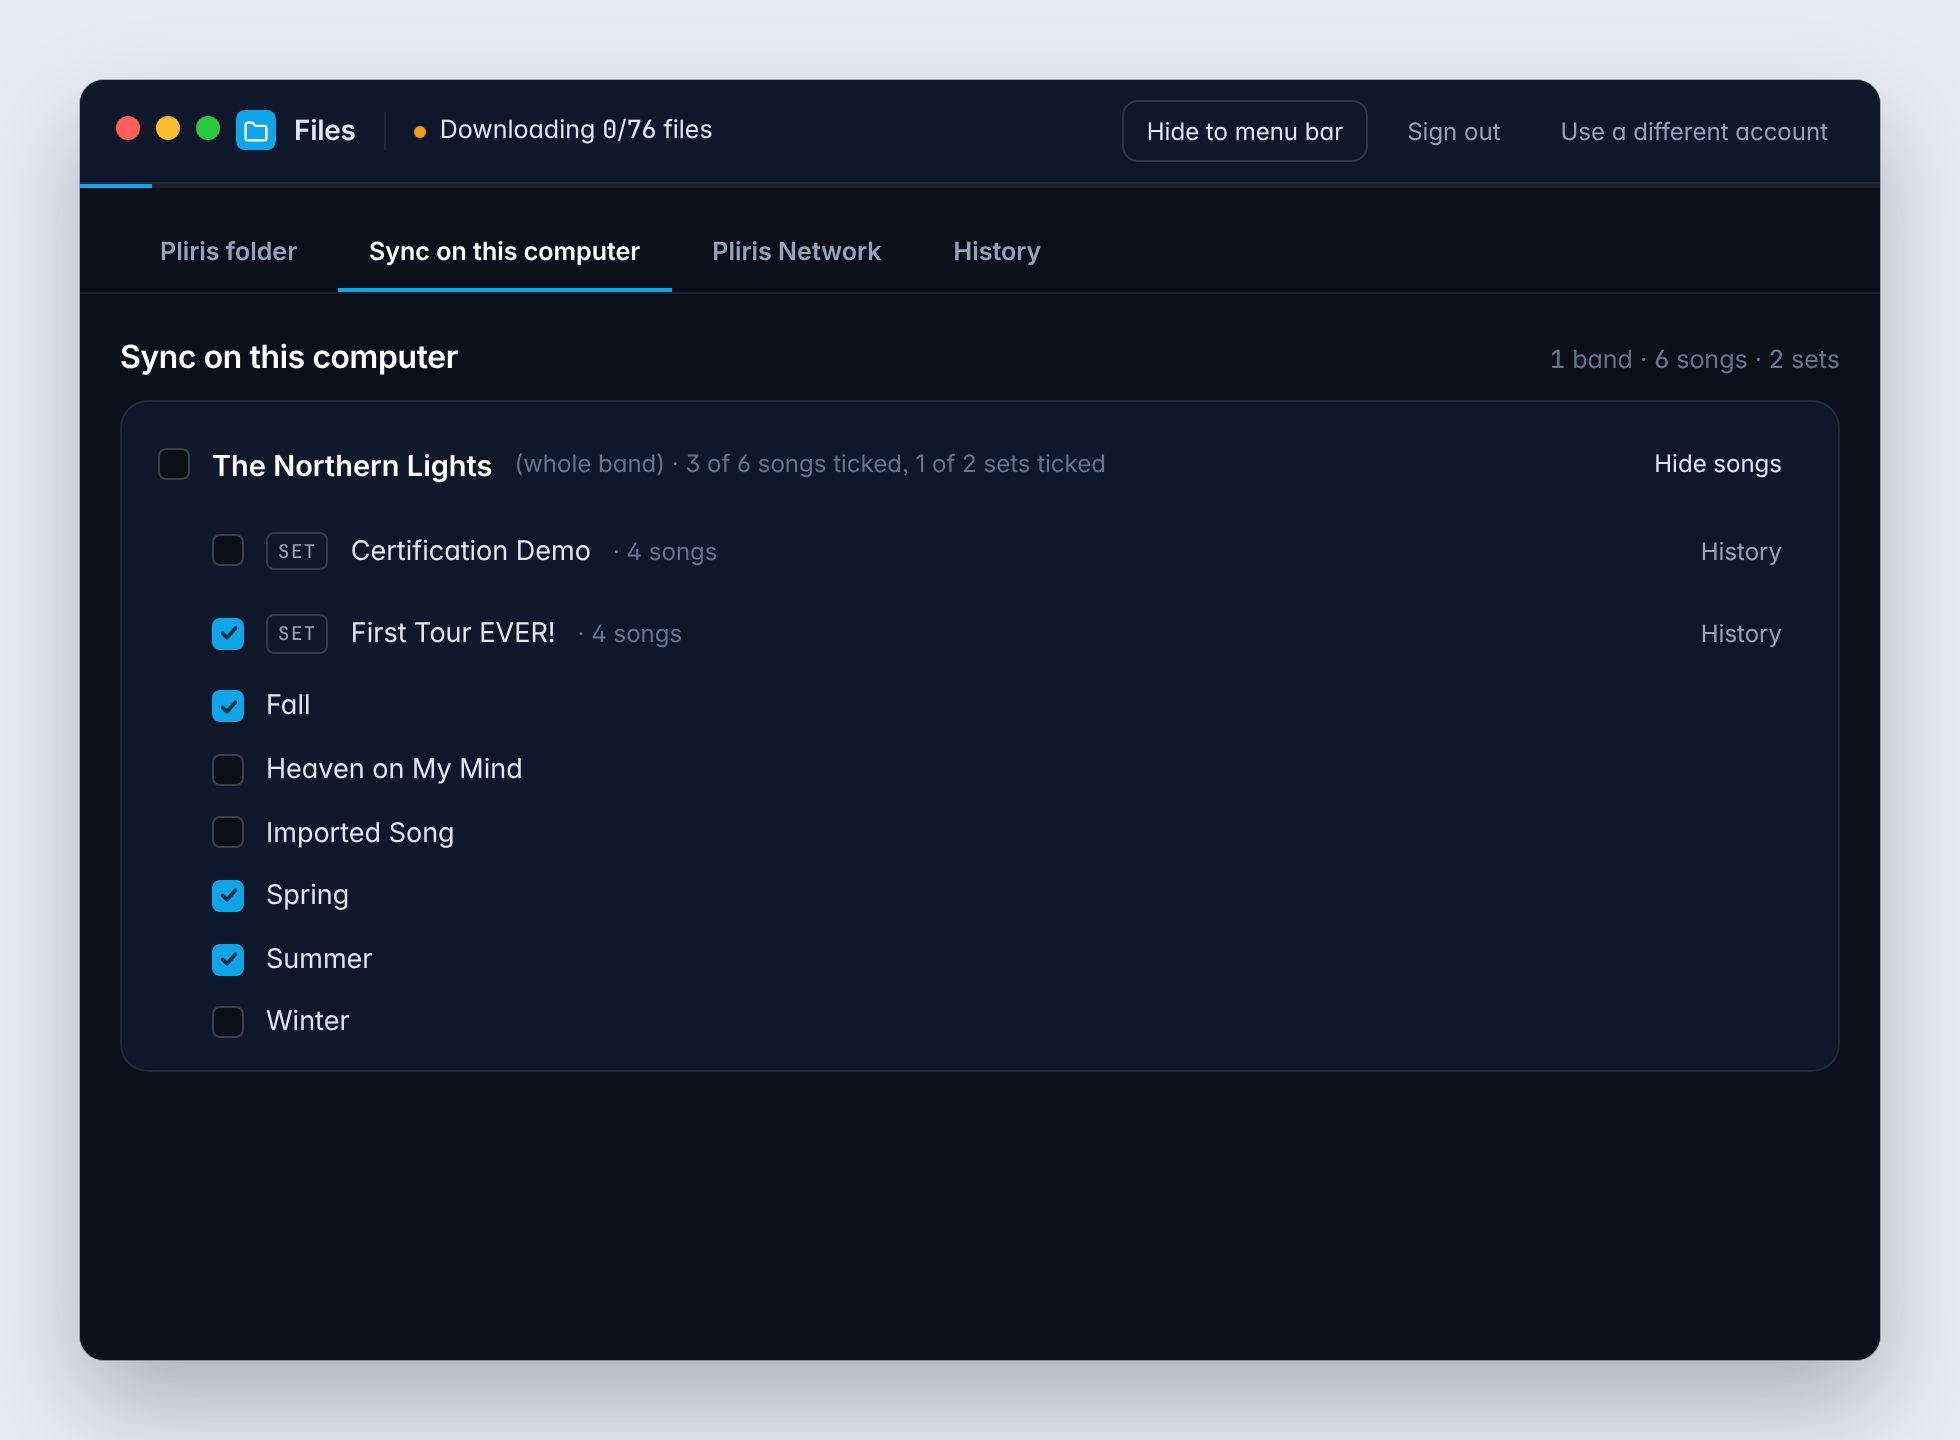
The status at the top of the window tells you what Files is doing: Up to date, or the current step, such as Downloading 3/76 files.
Pro tip: On your show computers, tick whole bands. Anything you add on the website later then arrives on its own, and nothing gets left behind the night you need it.
Untick something you no longer need
Unticking stops a song from syncing, but leaves the files on your Mac. Files tells you how much is left over and gives you Remove from this computer… to clear it.
Where your files go
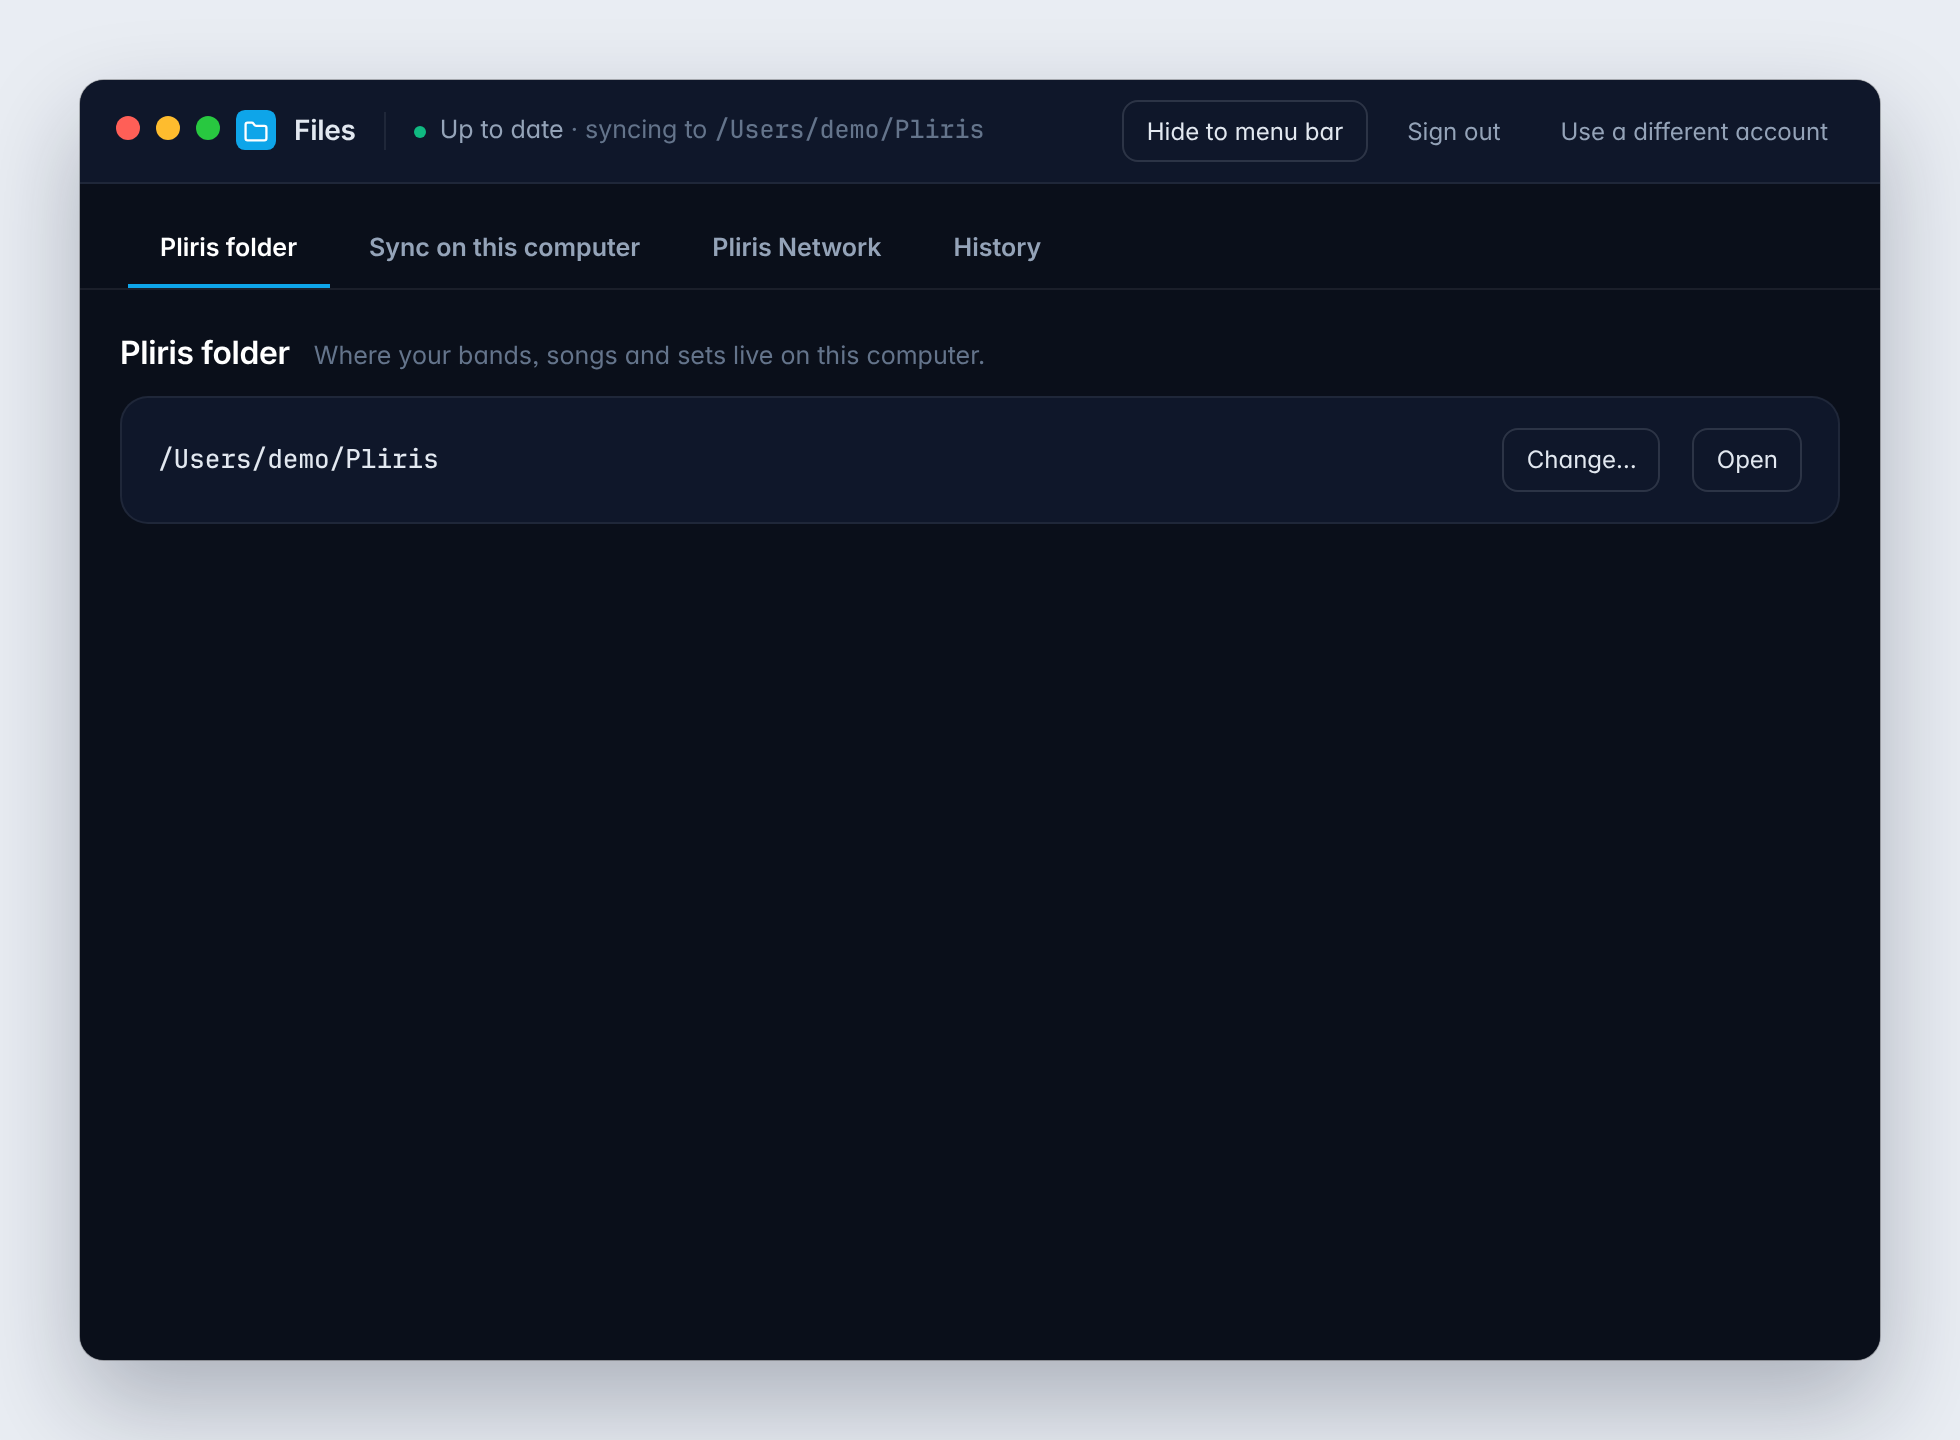
Files keeps everything in one Pliris folder, in your home folder unless you choose somewhere else. See and change it on the Pliris folder tab: Open shows it in Finder, and Change… moves it.
Inside, each band has its own folder, laid out like this:
Pliris/
  The Northern Lights/
    Songs/
      Summer/
        Album/
          Stems/
          Ableton/
          Refs/
    Sets/
      First Tour EVER!/
        Ableton/
Each song's Ableton folder holds a Live set built from its stems, and each setlist's Ableton folder holds the whole set, ready to open in Live.
Keep two playback computers in sync
If you run a main and a backup computer, sign in to Files on both, tick the same bands, and keep both on the same network. Files keeps them matched over Pliris Network: save a set on one, and the other has it within seconds. It works with no internet at all, and a notification tells you what arrived and from where, such as Summer updated from Playback B.
Check it on the Pliris Network tab. You should see Visible on the network and your other computer under Connected devices.
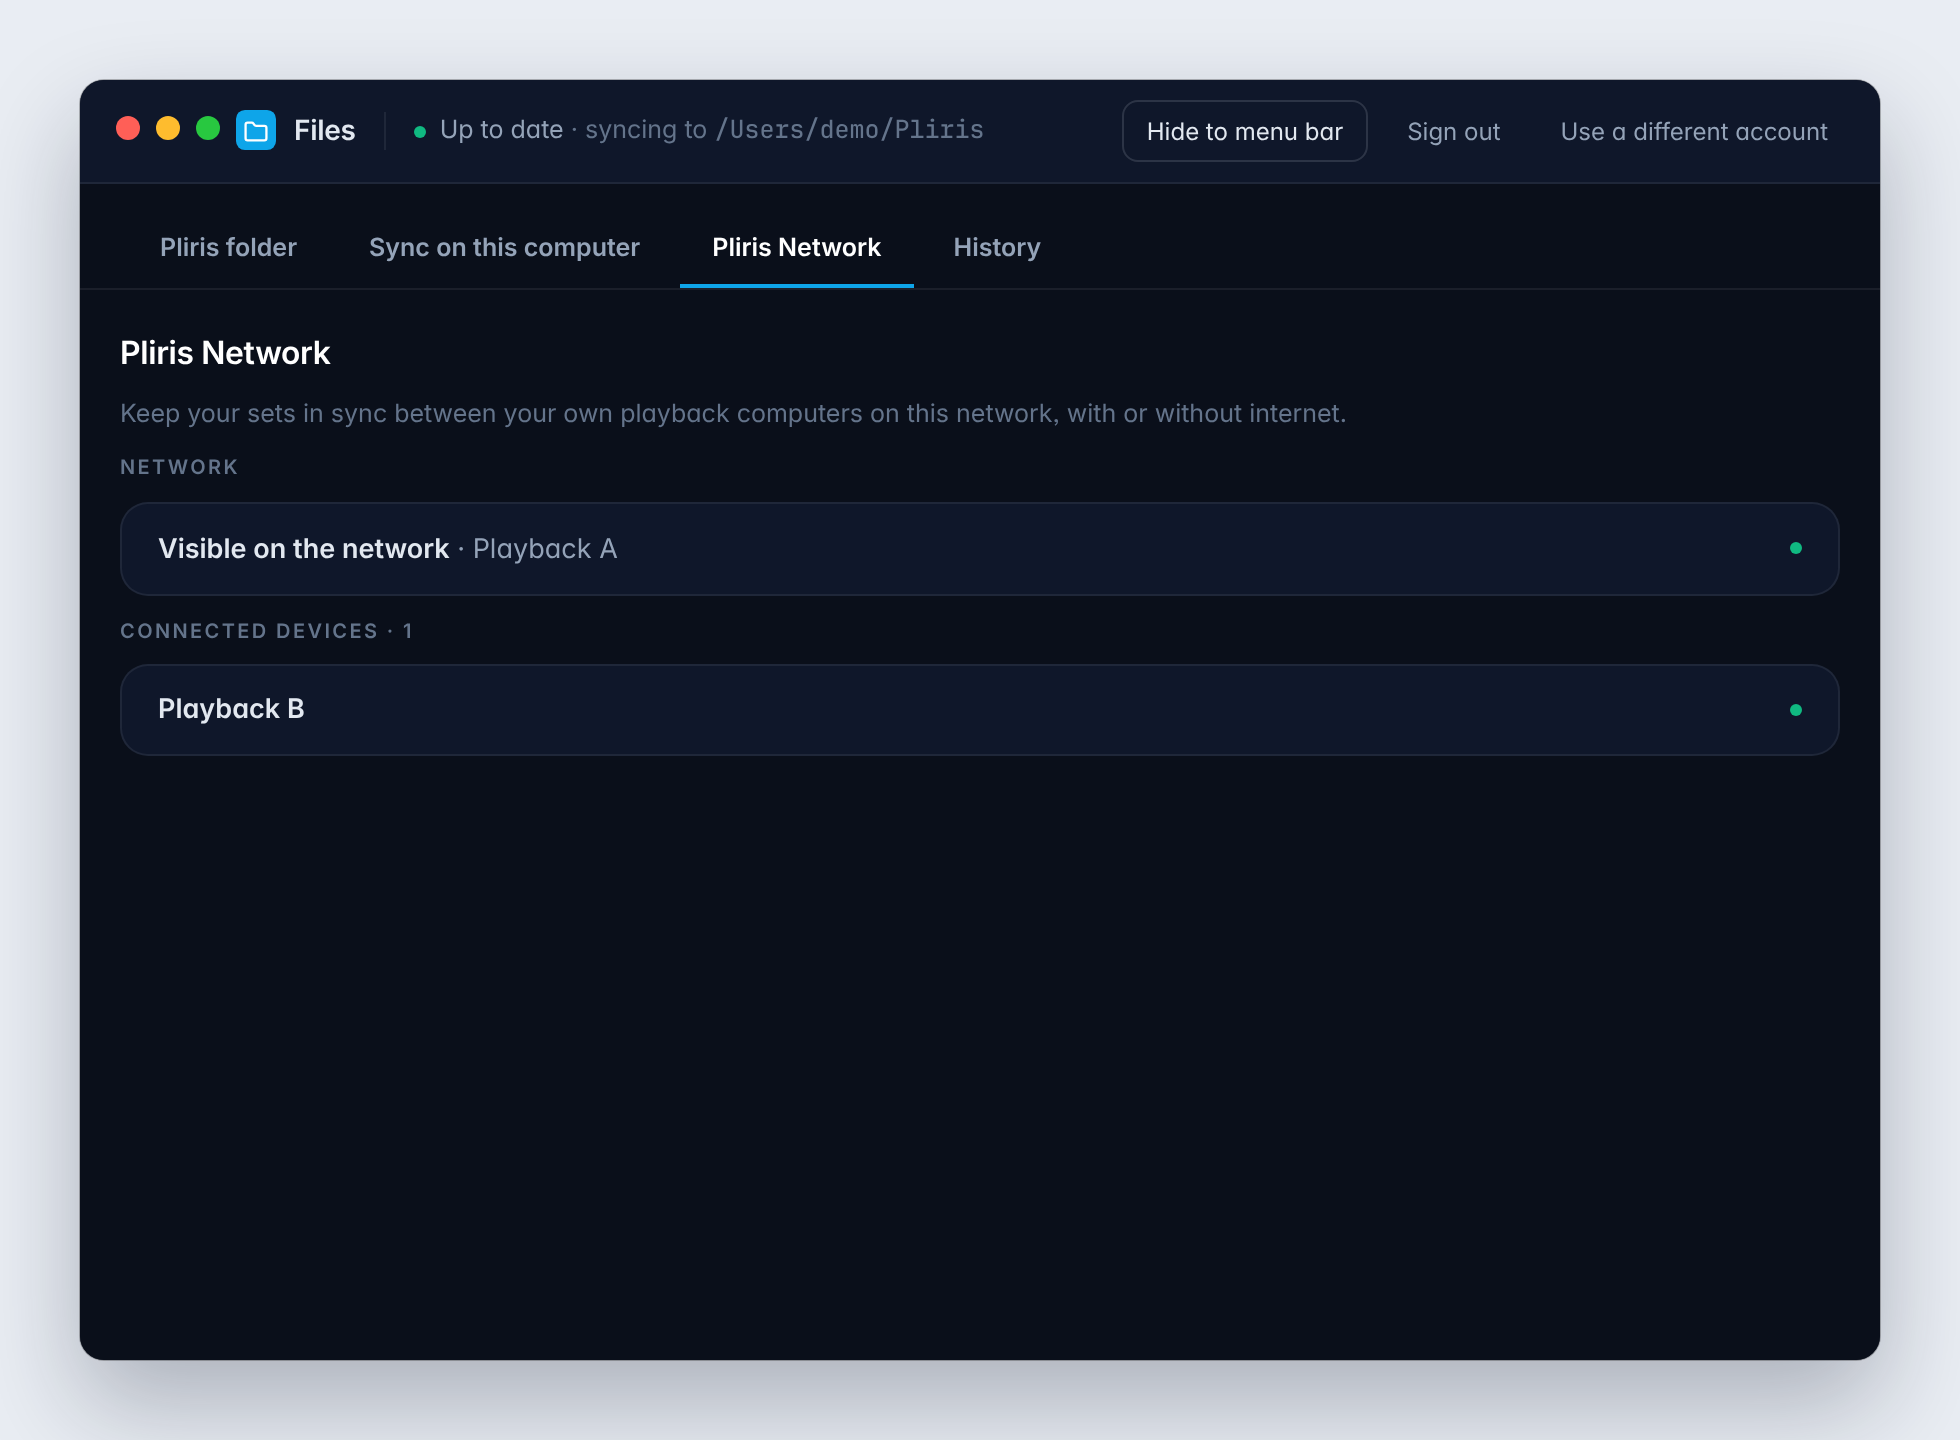
A few things to know:
- Both computers need to be signed in to accounts that can download the band. Being on the same Wi-Fi isn't enough.
- If both computers changed the same file, the newer save wins.
- Name each computer so you can tell them apart. Files shows each Mac's local hostname, which you can change under System Settings → General → Sharing → Local hostname.
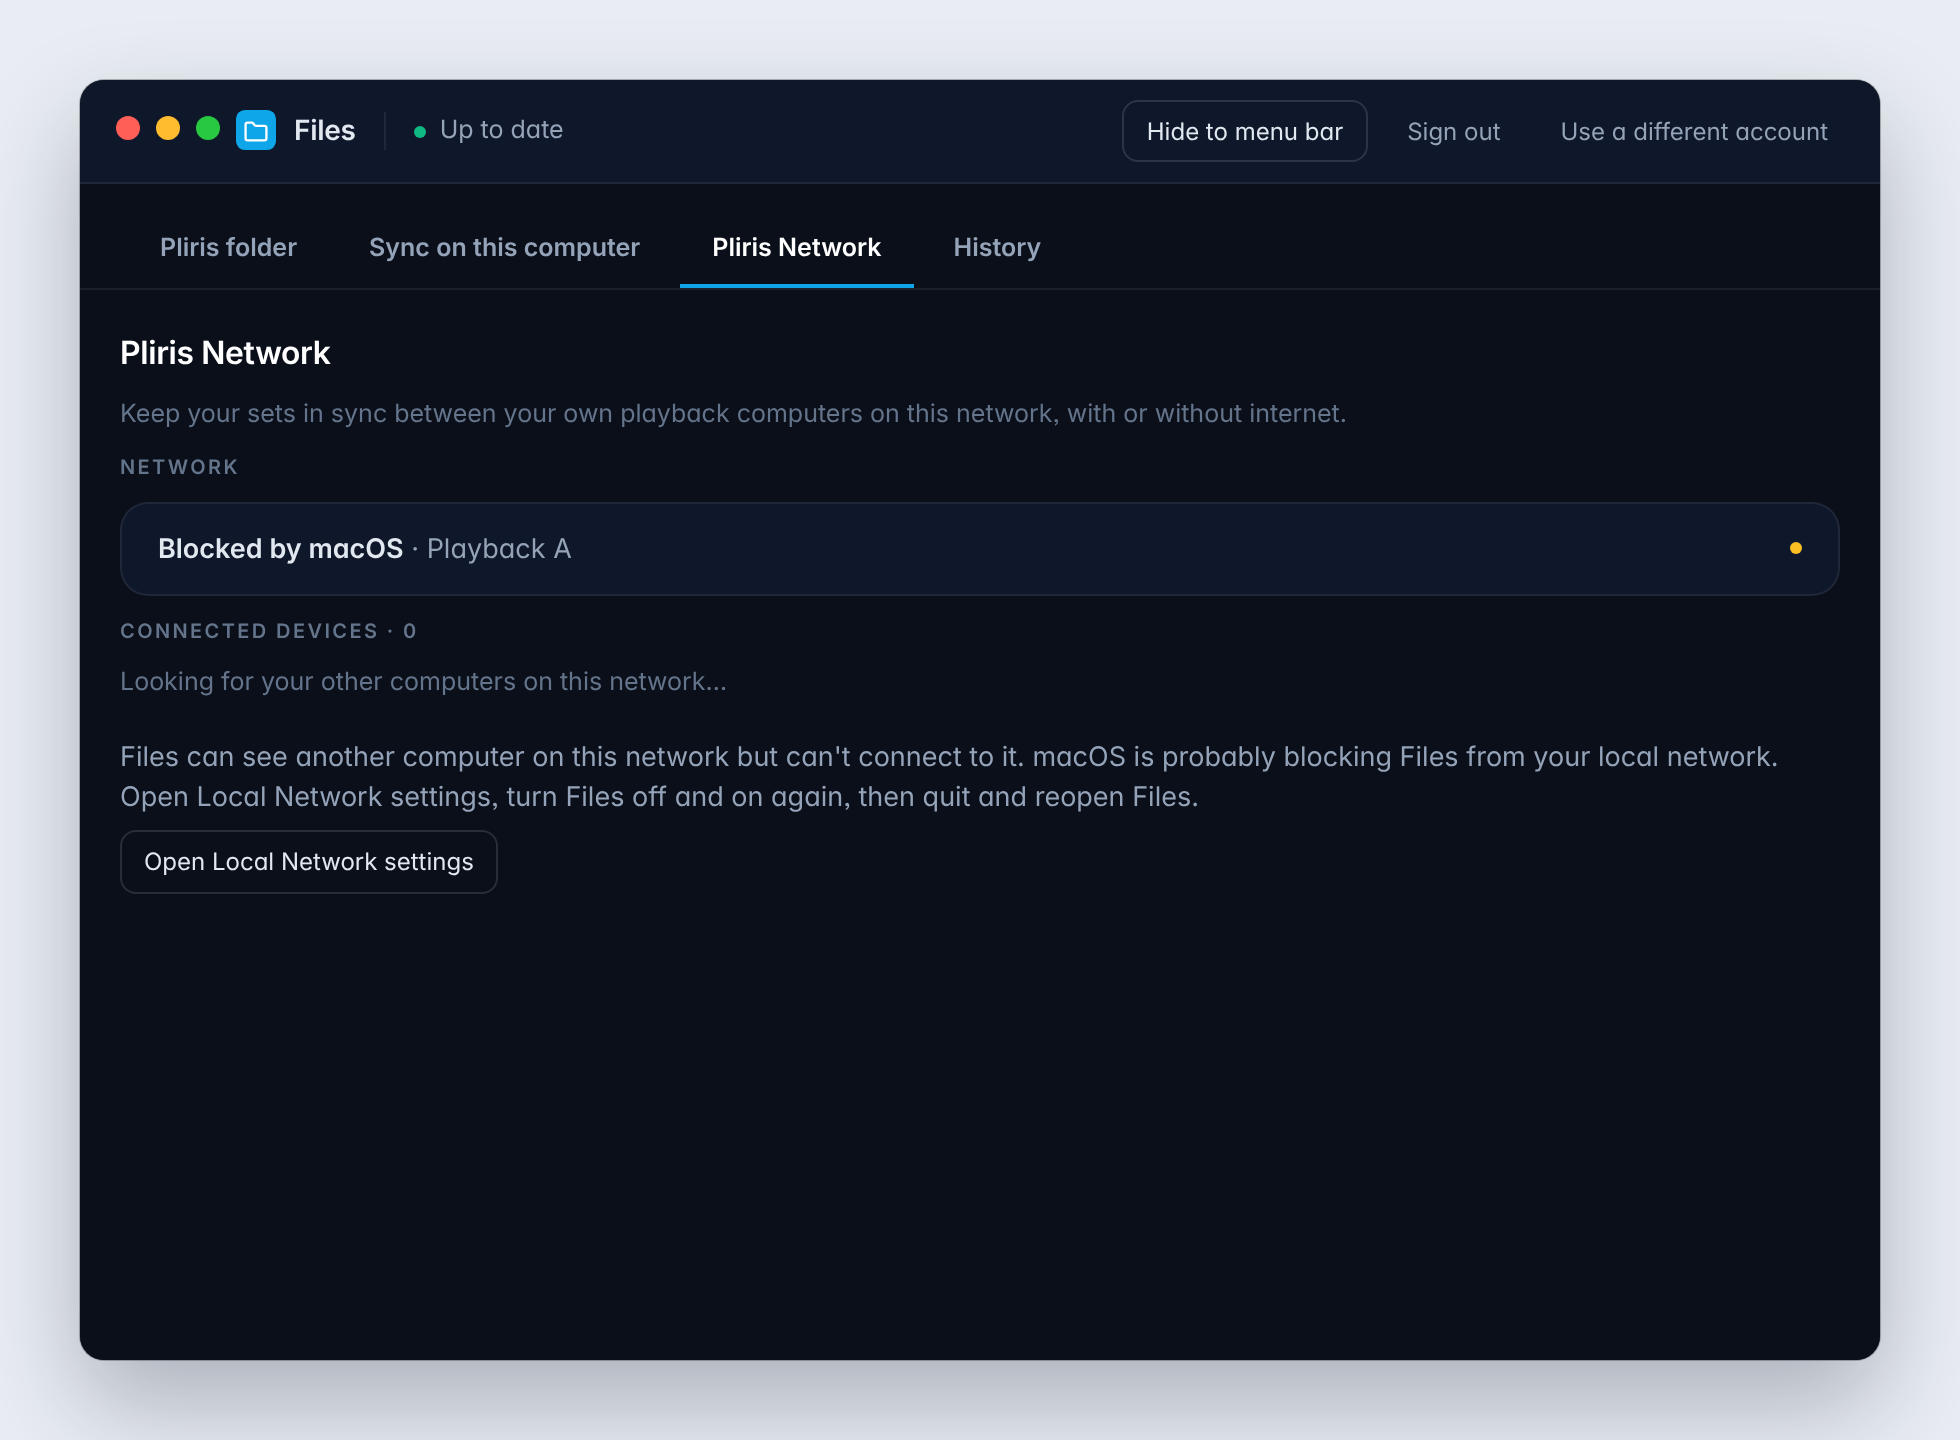
If it says "Blocked by macOS"
Files can see the other computer but macOS isn't letting it connect. Click Open Local Network settings, switch Files off and back on, then quit and reopen Files.
Every save in Live is a version you can go back to
When you save a set from your Pliris folder in Ableton (⌘S), Files keeps that version on Pliris. You don't have to do anything else.
If the set you saved no longer matches Pliris (you moved a section, reordered a setlist, or changed a song), Files asks what to do with it: Update this song, Make a new version, or Leave unchanged.
See and restore earlier versions
- Open the History tab. It lists the sets and songs on this computer.
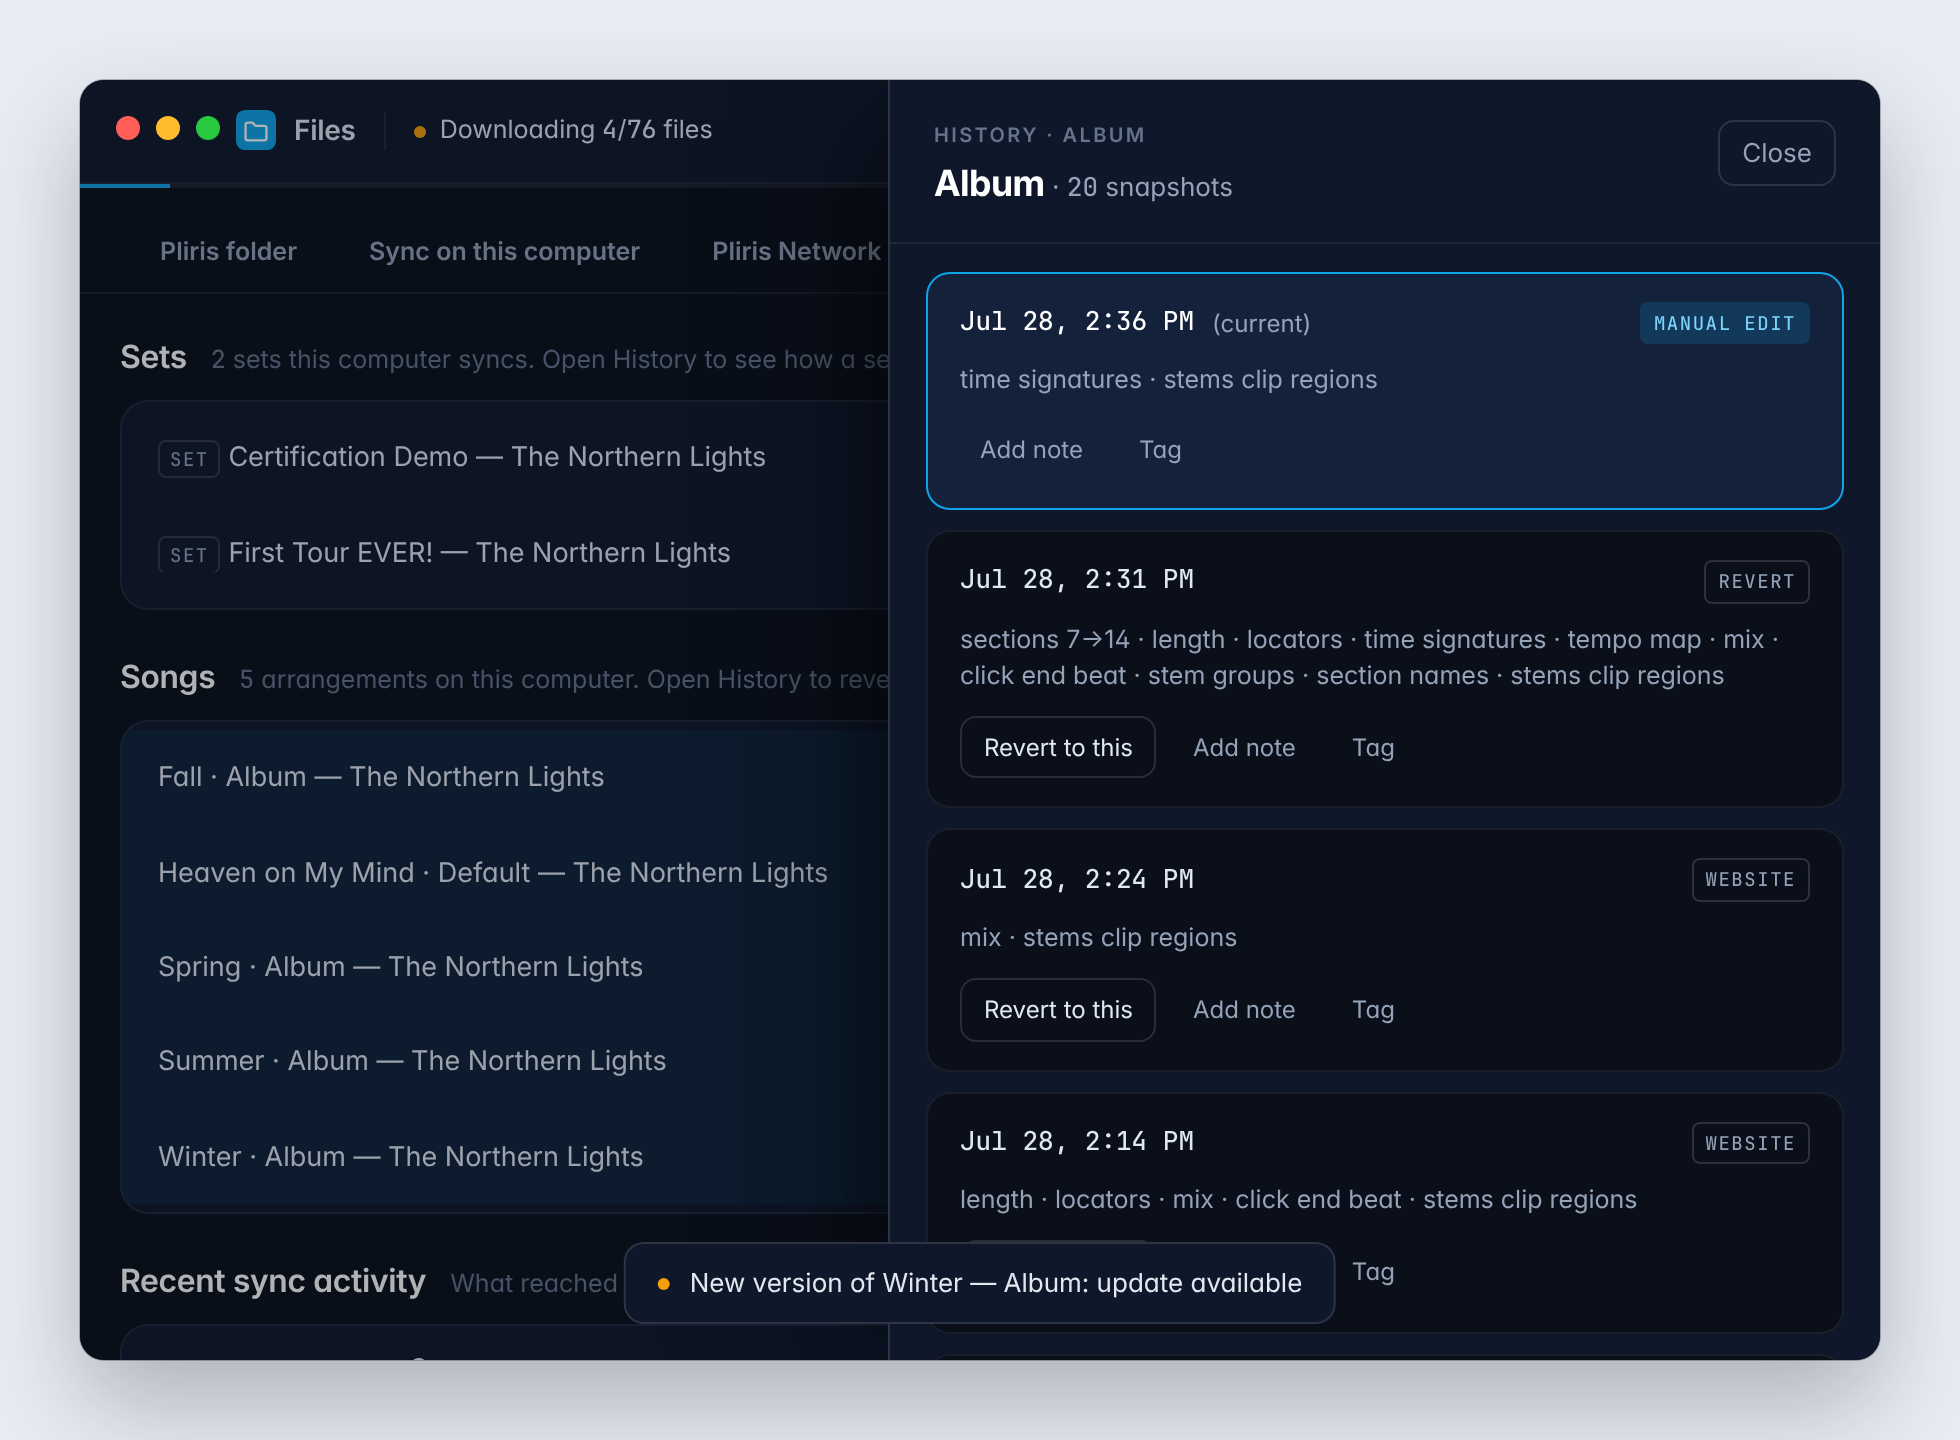
- Click History next to a song to see every saved version: when it was saved, what changed, and where the change came from.
- On any version, choose:
- Revert to this to make that version the current one on Pliris. Nothing is deleted; reverting saves the old version again as the newest one.
- Restore to my .als to write that version back to your Ableton file on this Mac. Files backs up your current file first. Close the set in Ableton before you restore.
- Add note or Tag to mark a version you want to find again, such as "keep this one". You need permission to edit the band's songs to add notes and tags.
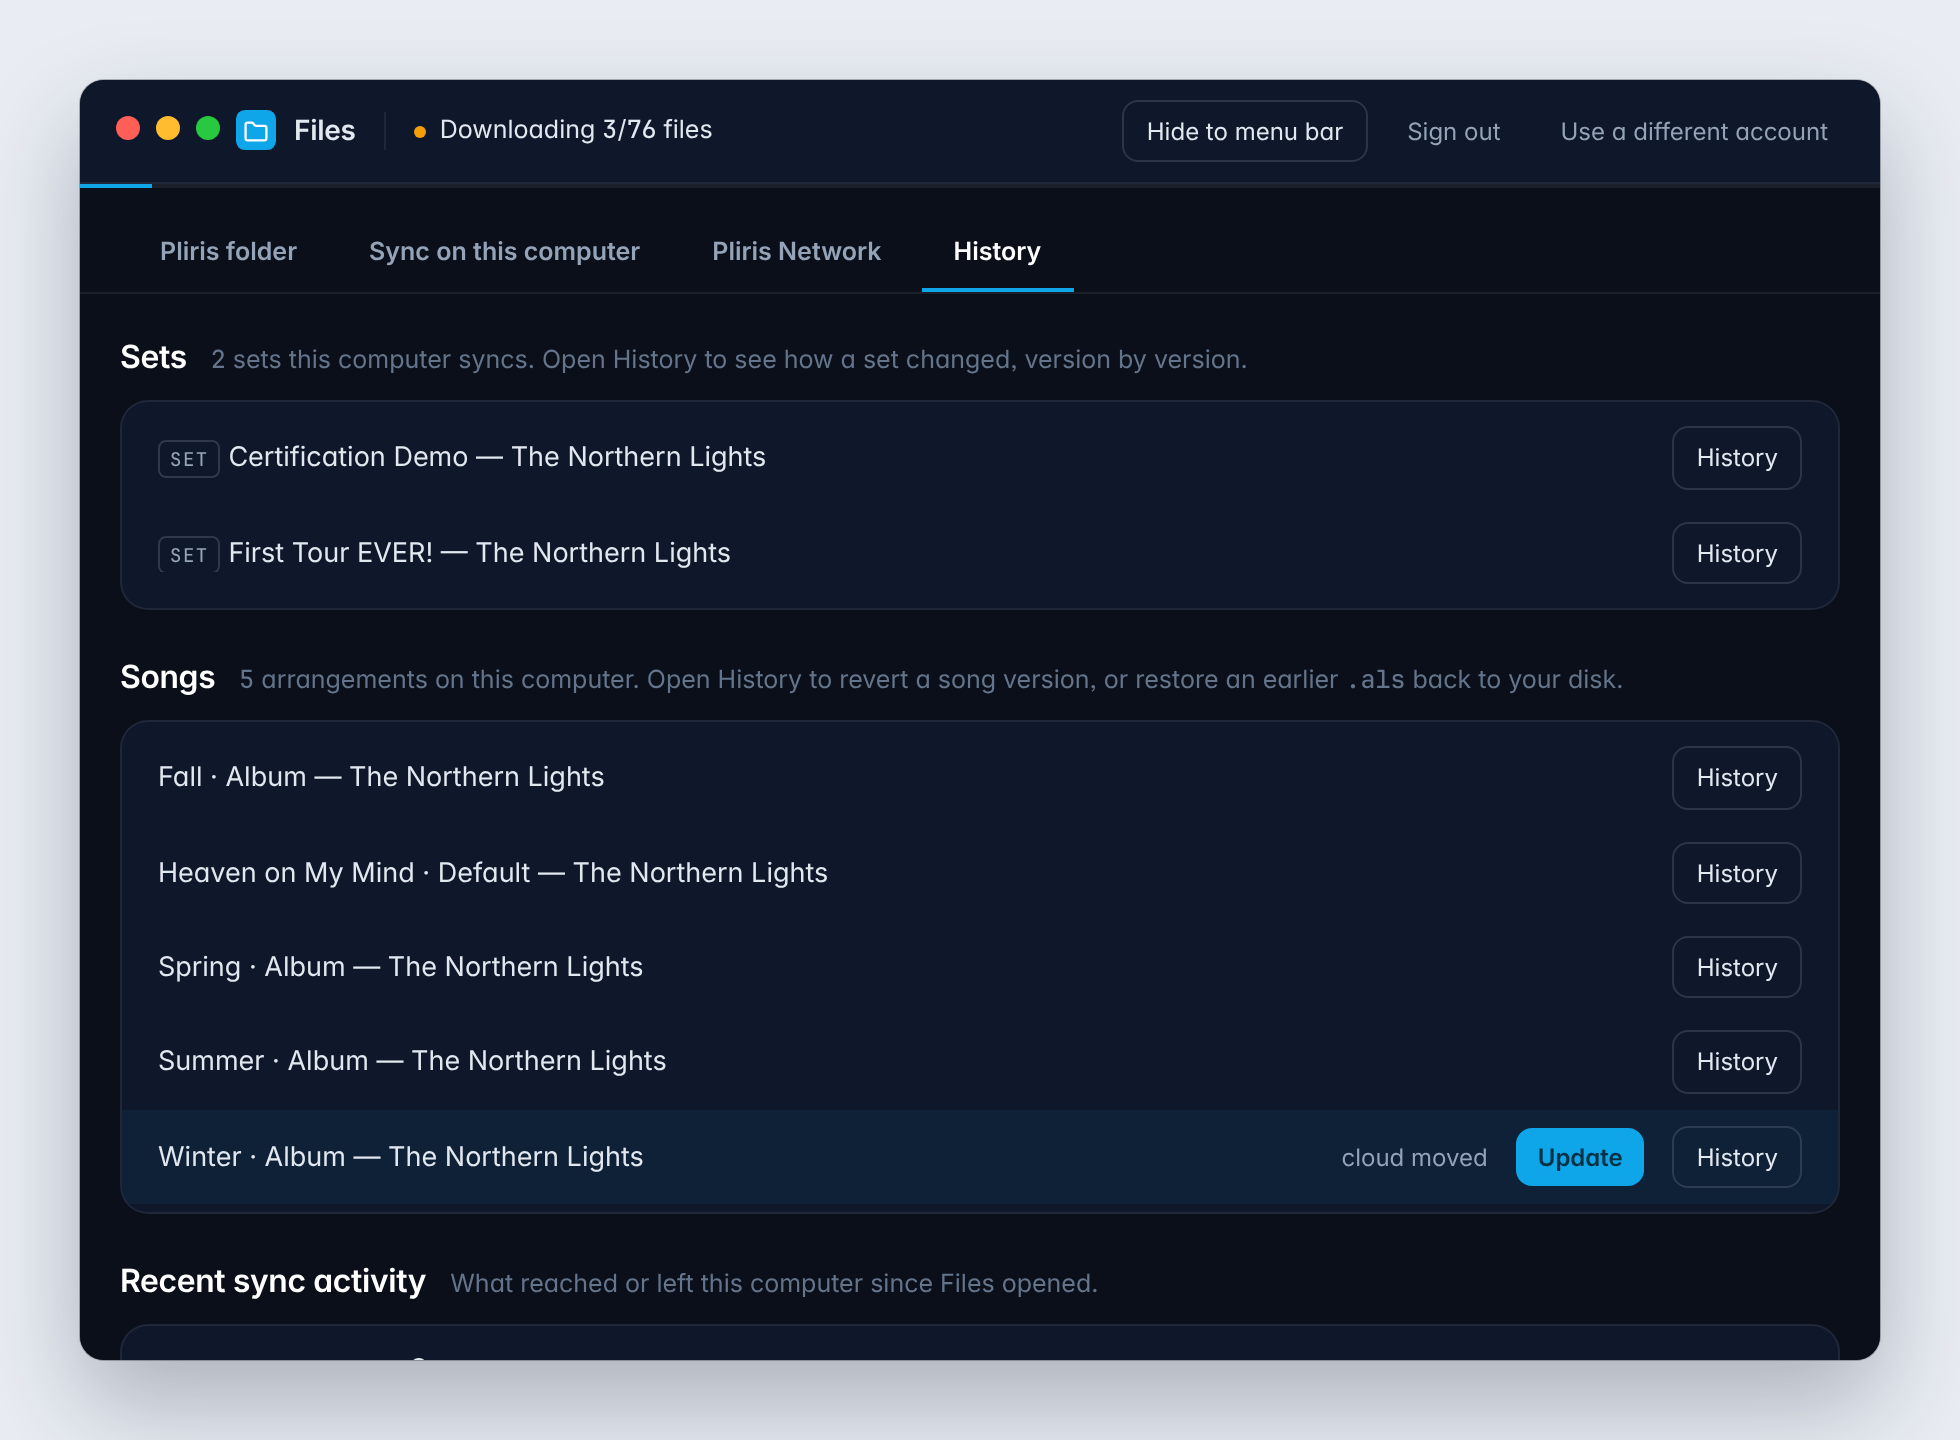
When a song changed on Pliris after you last downloaded it, the History tab shows cloud moved and an Update button. Click it to bring this Mac up to date.
The Recent sync activity list at the bottom of the History tab shows everything that reached or left this computer since Files opened.
For how versions work on the website, see Snapshot history.
The menu bar
Click the Files icon in the menu bar for a quick look: whether it's Up to date, what synced recently, and shortcuts to Open Files, Open Pliris Folder and Choose Bands & Songs….
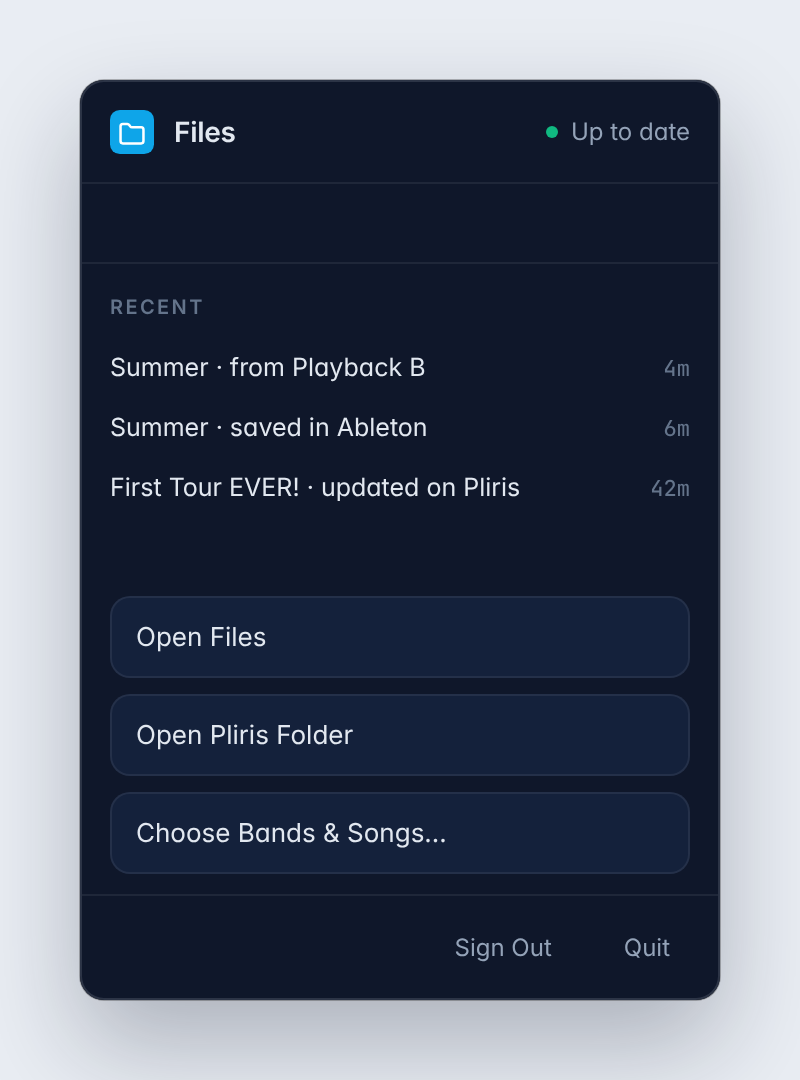
Hide to menu bar puts the window away again. To quit Files completely, choose Quit from the menu bar panel.
Frequently asked questions
Does Files change my Ableton file when I save?
No. Files reads your set after Live saves it and keeps a copy of that version on Pliris. Your file on disk stays exactly as Live saved it. The only time Files writes to your .als is when you choose Restore to my .als, and it backs up your current file first.
Do I have to keep Files open?
Yes, for syncing and for saving versions. Files runs quietly in the menu bar. If it's closed when you save in Live, that save isn't captured; open Files and save again.
How do I download a song to my Mac?
Tick it on the Sync on this computer tab. Ticking is the download, and Files keeps it up to date from then on.
Why can't I untick a song?
Its band is ticked as a whole. Untick the band, then tick the songs and sets you want one by one.
My backup computer isn't getting my changes. What should I check?
Check that both computers show each other on the Pliris Network tab. If one says Blocked by macOS, turn Local Network access back on for Files. Then check both are on the same network, and that both have the band ticked. See What is Pliris Network? for the full list.
Does syncing between computers need the internet?
No. Files syncs your playback computers over your local network, with or without internet.
What happens if both computers changed the same song?
The newer save wins, and the older version is still in the song's history if you need it back.
Can I undo a revert?
Yes. Reverting saves the old version again as the newest one, so the versions after it are still in the history and you can revert to them.
Where do the files go?
Into your Pliris folder, organized by band, then songs and sets. The Pliris folder tab shows where it is and lets you move it.
Where to go next
- What is Pliris Network?: how your Pliris apps find each other.
- The Maestro desktop app: open the sets Files builds and run the show.
- Snapshot history: how versions, tags and reverts work.
- The Files App: the web app for uploads, your Inbox and invite links.
Stuck at any point, click the support bubble in the bottom-right corner of any page, or email support@fromstudiotostage.com. You'll hear back within 24 hours.