Requesting Files with an Invite Link
Create an invite link in your Files Inbox and send it to a producer, engineer, or artist. They upload on their own connection, with no Pliris account, and the files land in your Inbox as a drop.
Need stems from a producer, engineer, or artist? Send them an invite link to your Files Inbox. They upload the files on their own internet connection, and the files land in your Inbox, ready to send to a song whenever you are. The person uploading doesn't need a Pliris account.
Watch the lesson: this article goes with Request files from someone else, part of the Using Pliris to Program, Practice, and Perform course.
Create an invite link
- Go to Files (files.fromstudiotostage.com) and click Inbox in the sidebar.
- Under Invite links, click New invite link.
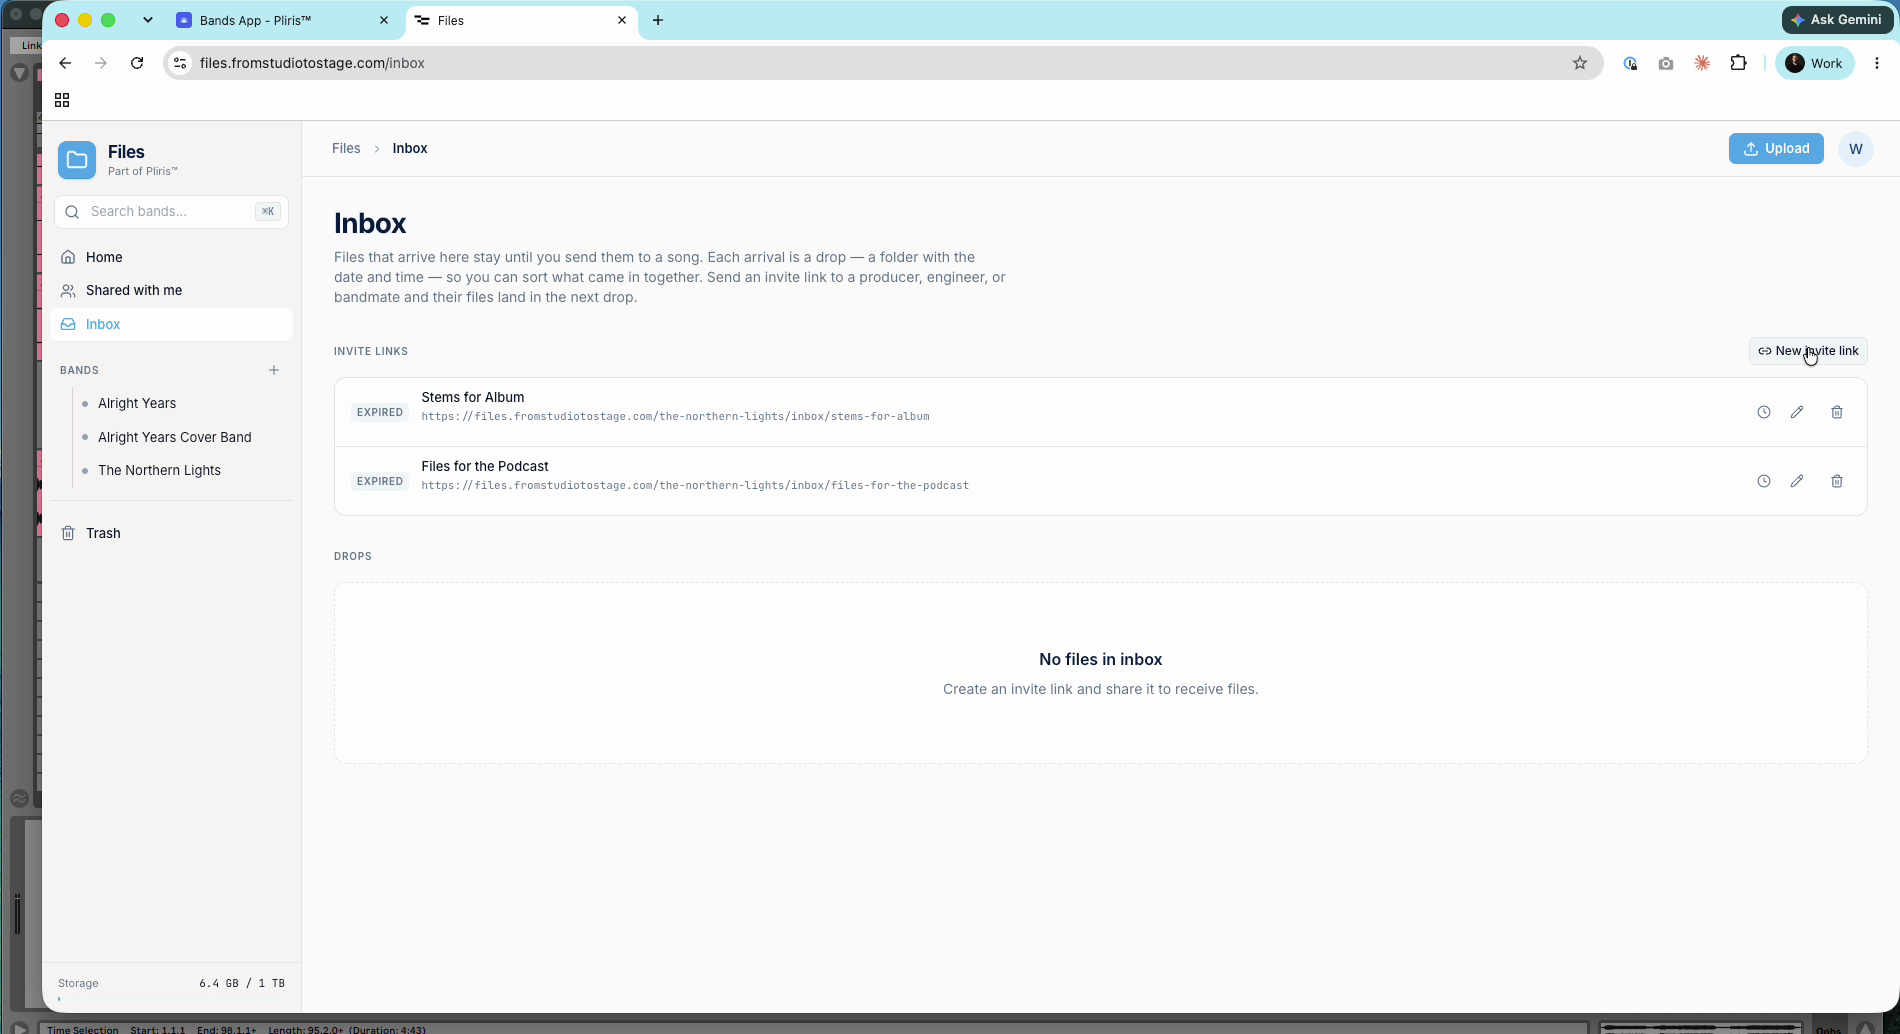
- Fill in the details. Everything except the switch is optional:
- Enabled: turn it off later to revoke access without deleting the link.
- Name, for example New Stems for Live Show. The link is built from the name, using lowercase letters, numbers and hyphens only.
- Message, shown at the top of the upload page.
- What you need, for example Multitracks, stage plot, reference mix.
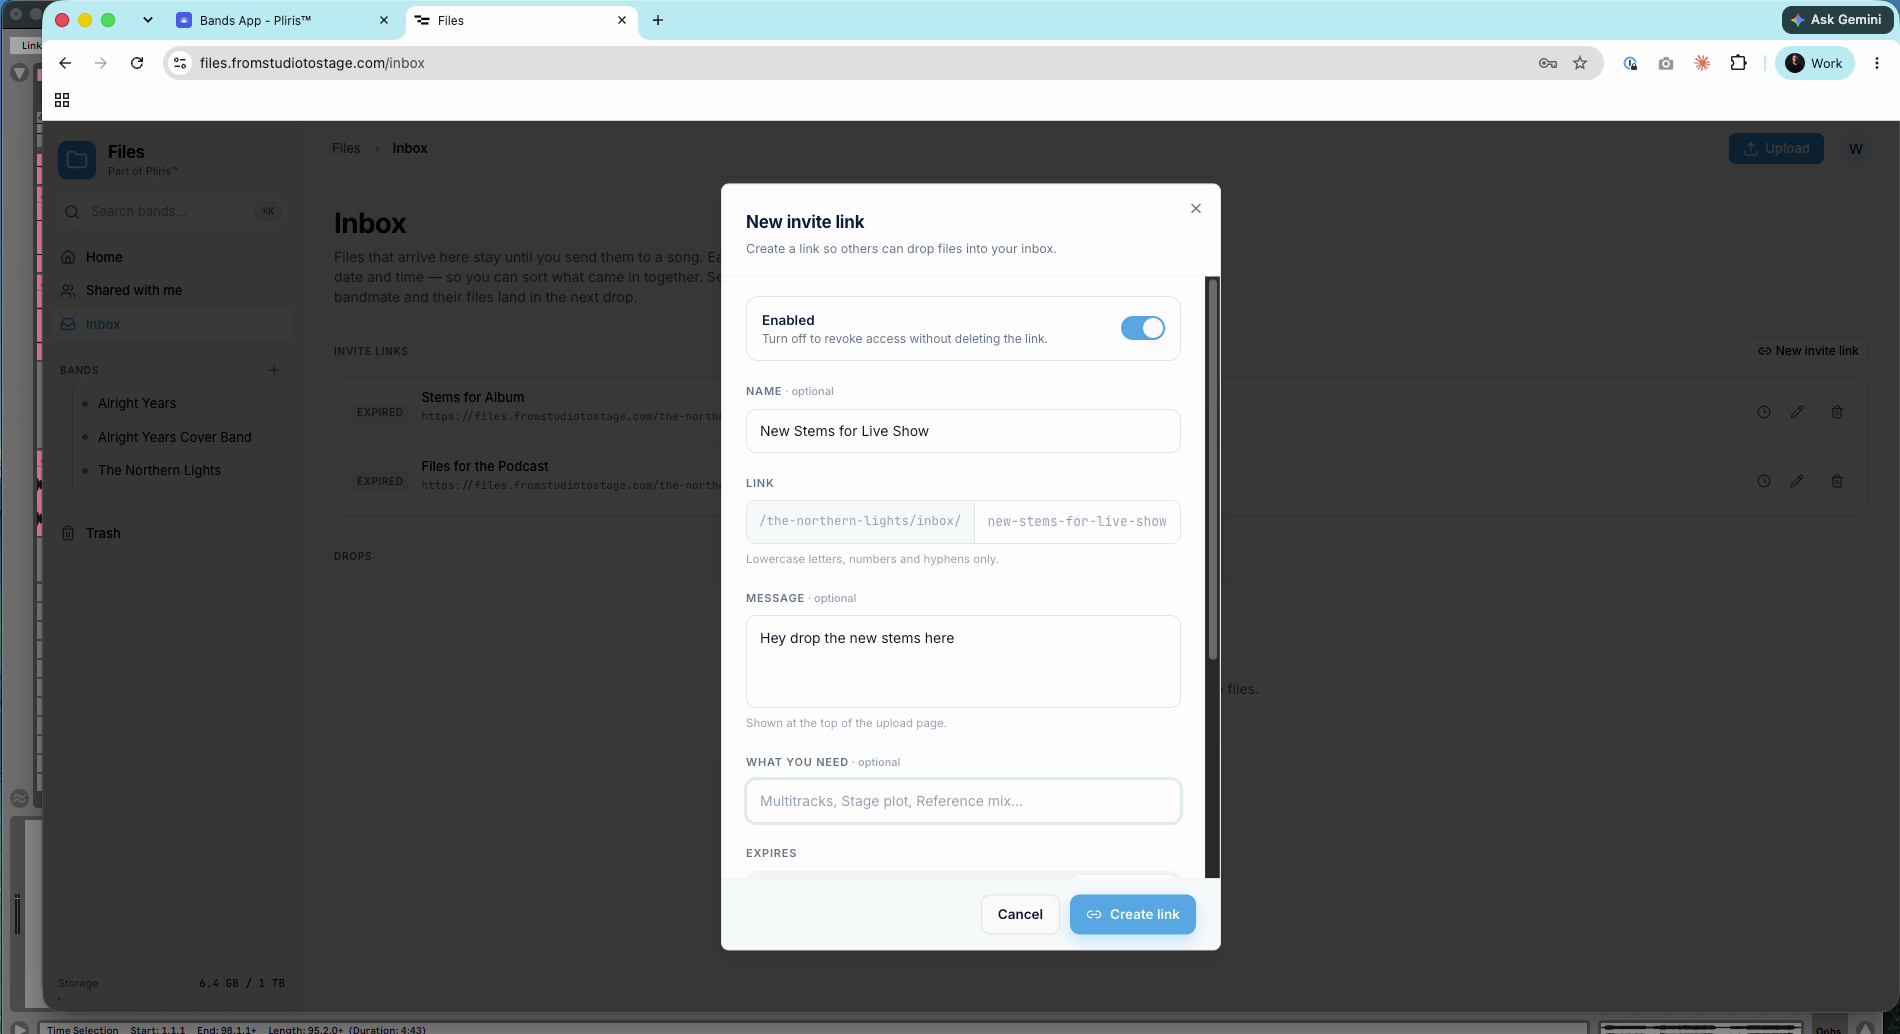
- Choose when it expires: 24 hours, 7 days, 30 days or Never. Seven days is a good default. It gives them time, and the link doesn't stay open forever.
- Choose who can upload:
- Anyone with the link: no account needed to send you files.
- Only specific emails: senders verify their email first.
- Add a password if you want one.
- Click Create link, then copy the link and send it.
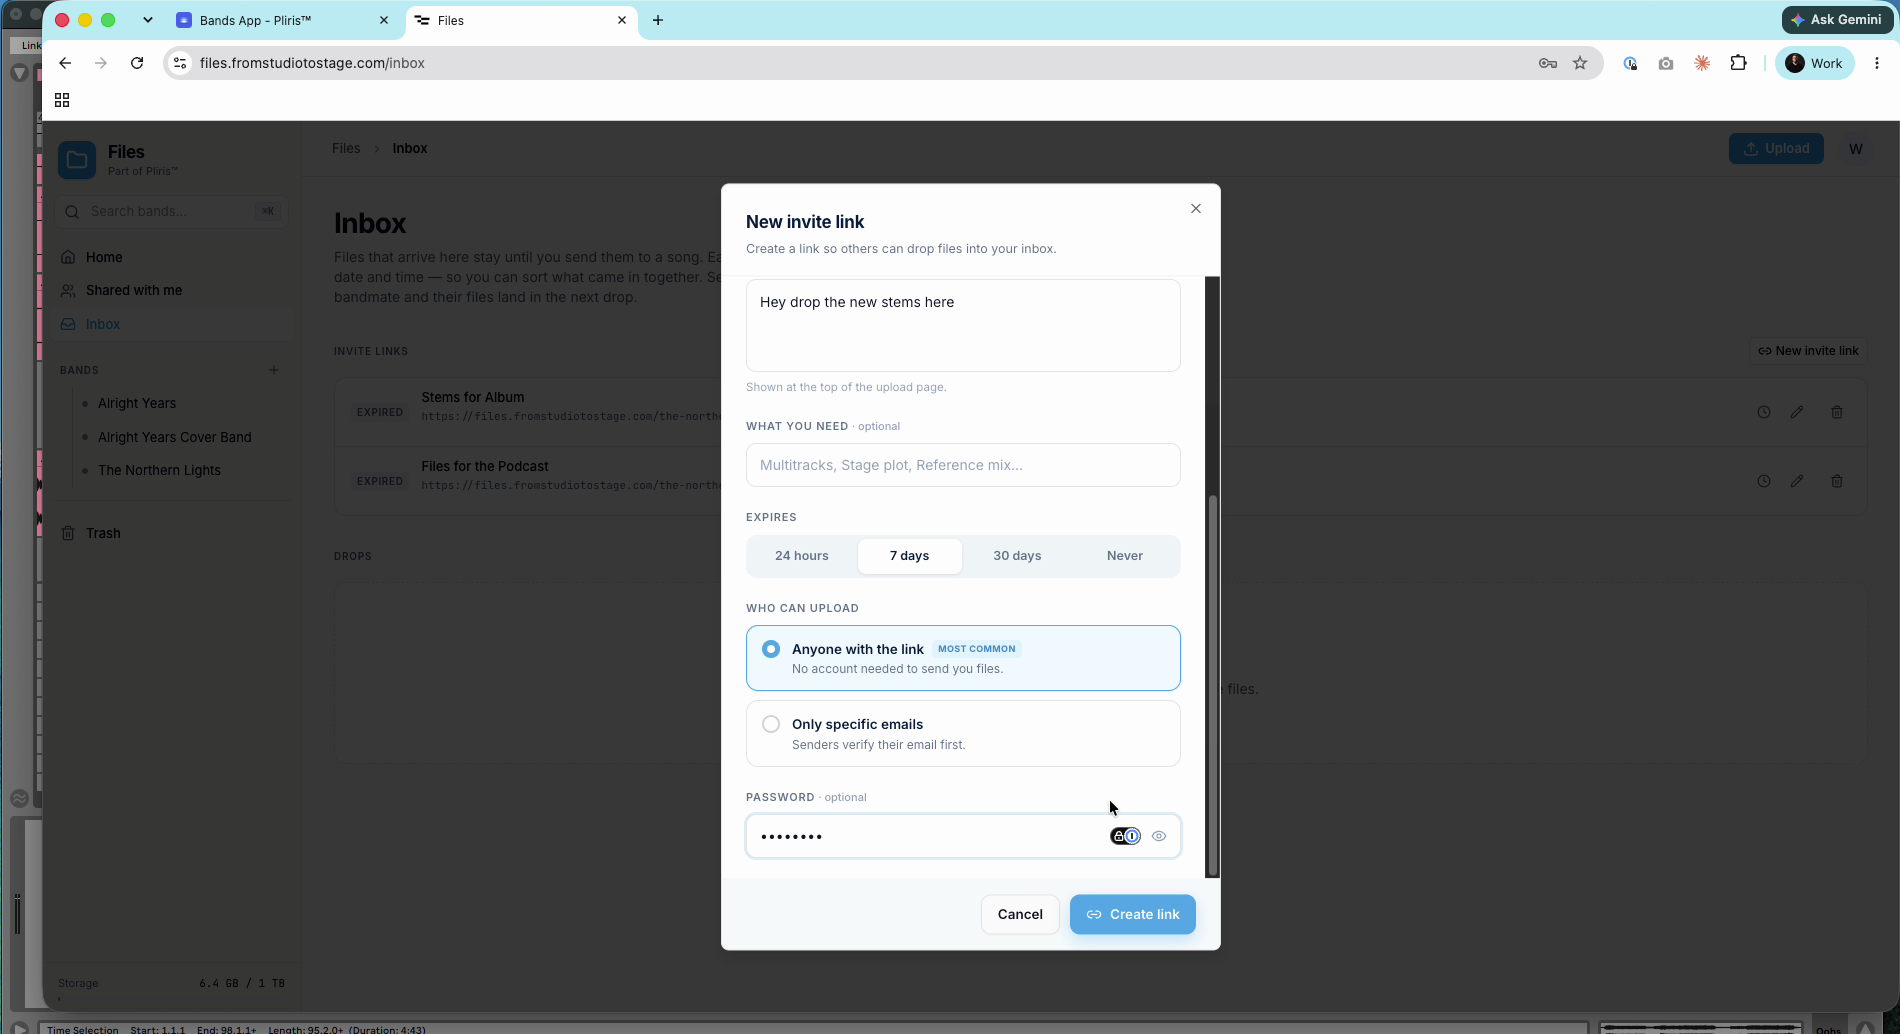
What the sender sees
If the link has a password, they enter it first.
Then they see your message, enter their name and email, and drop files or browse for them. Stems, .zip folders and session files all work.
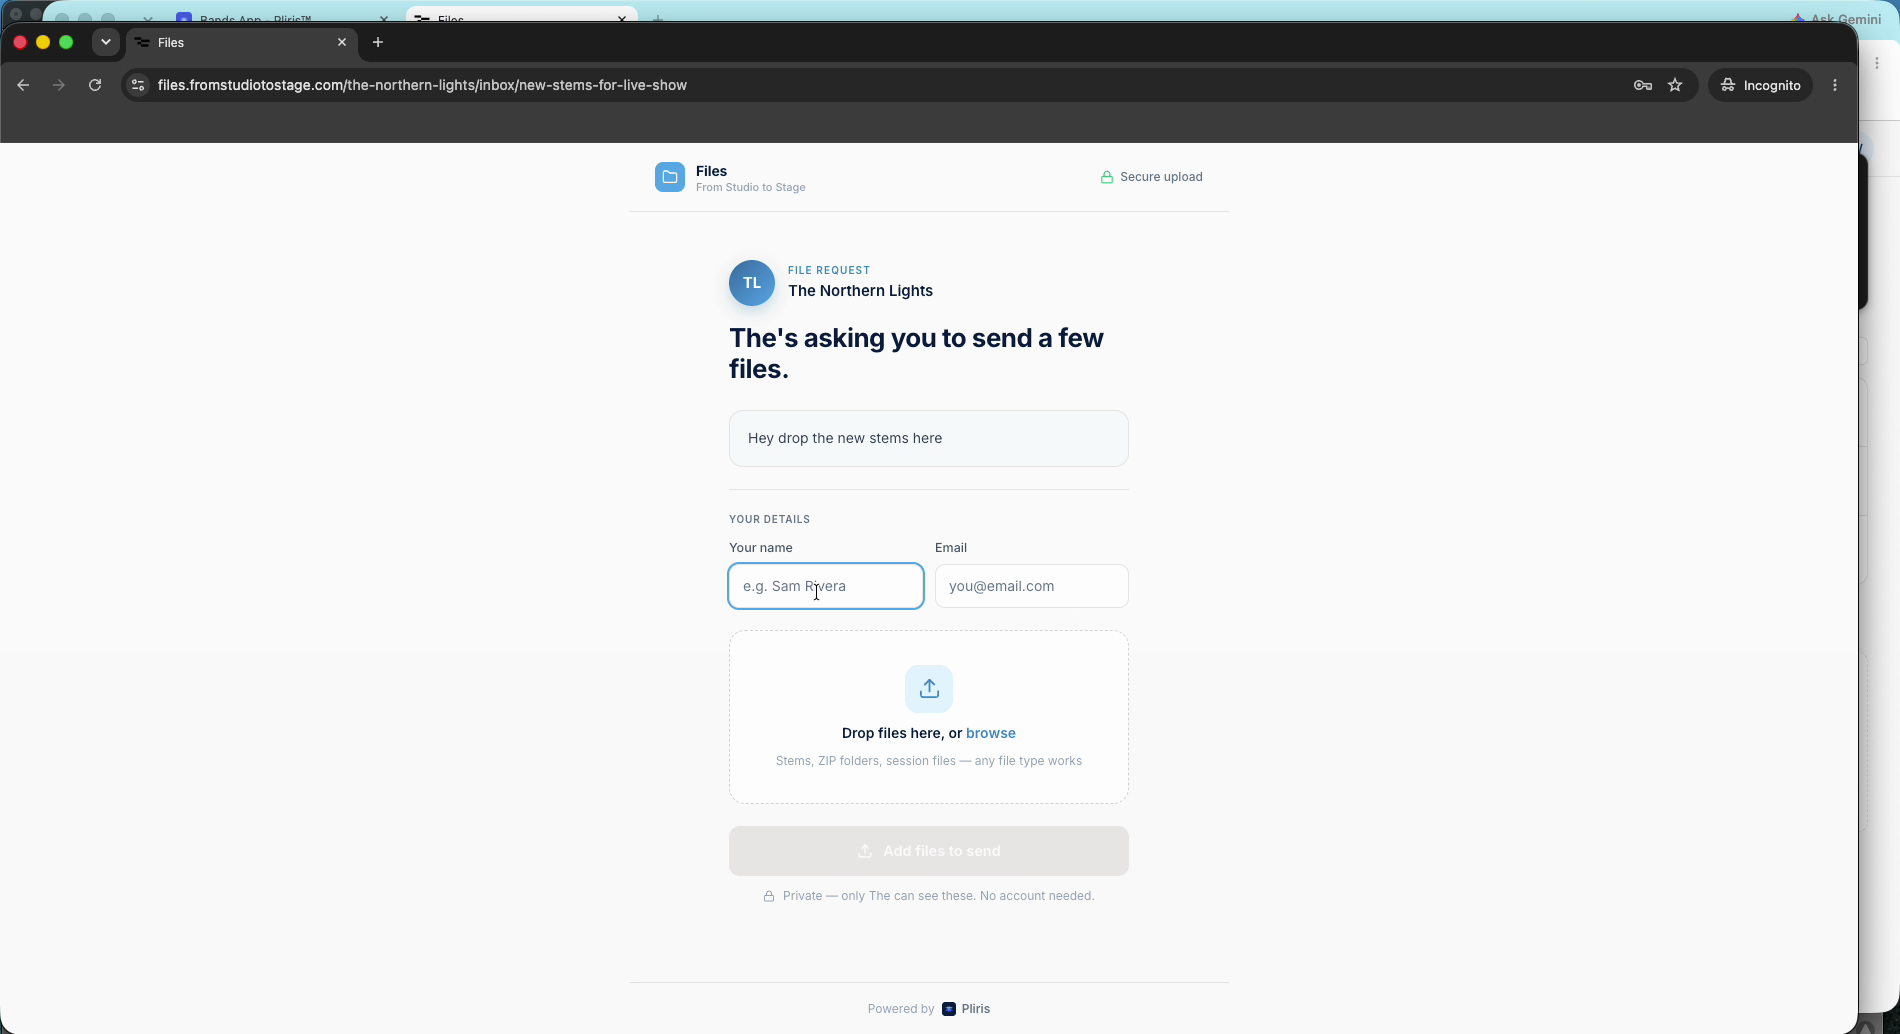
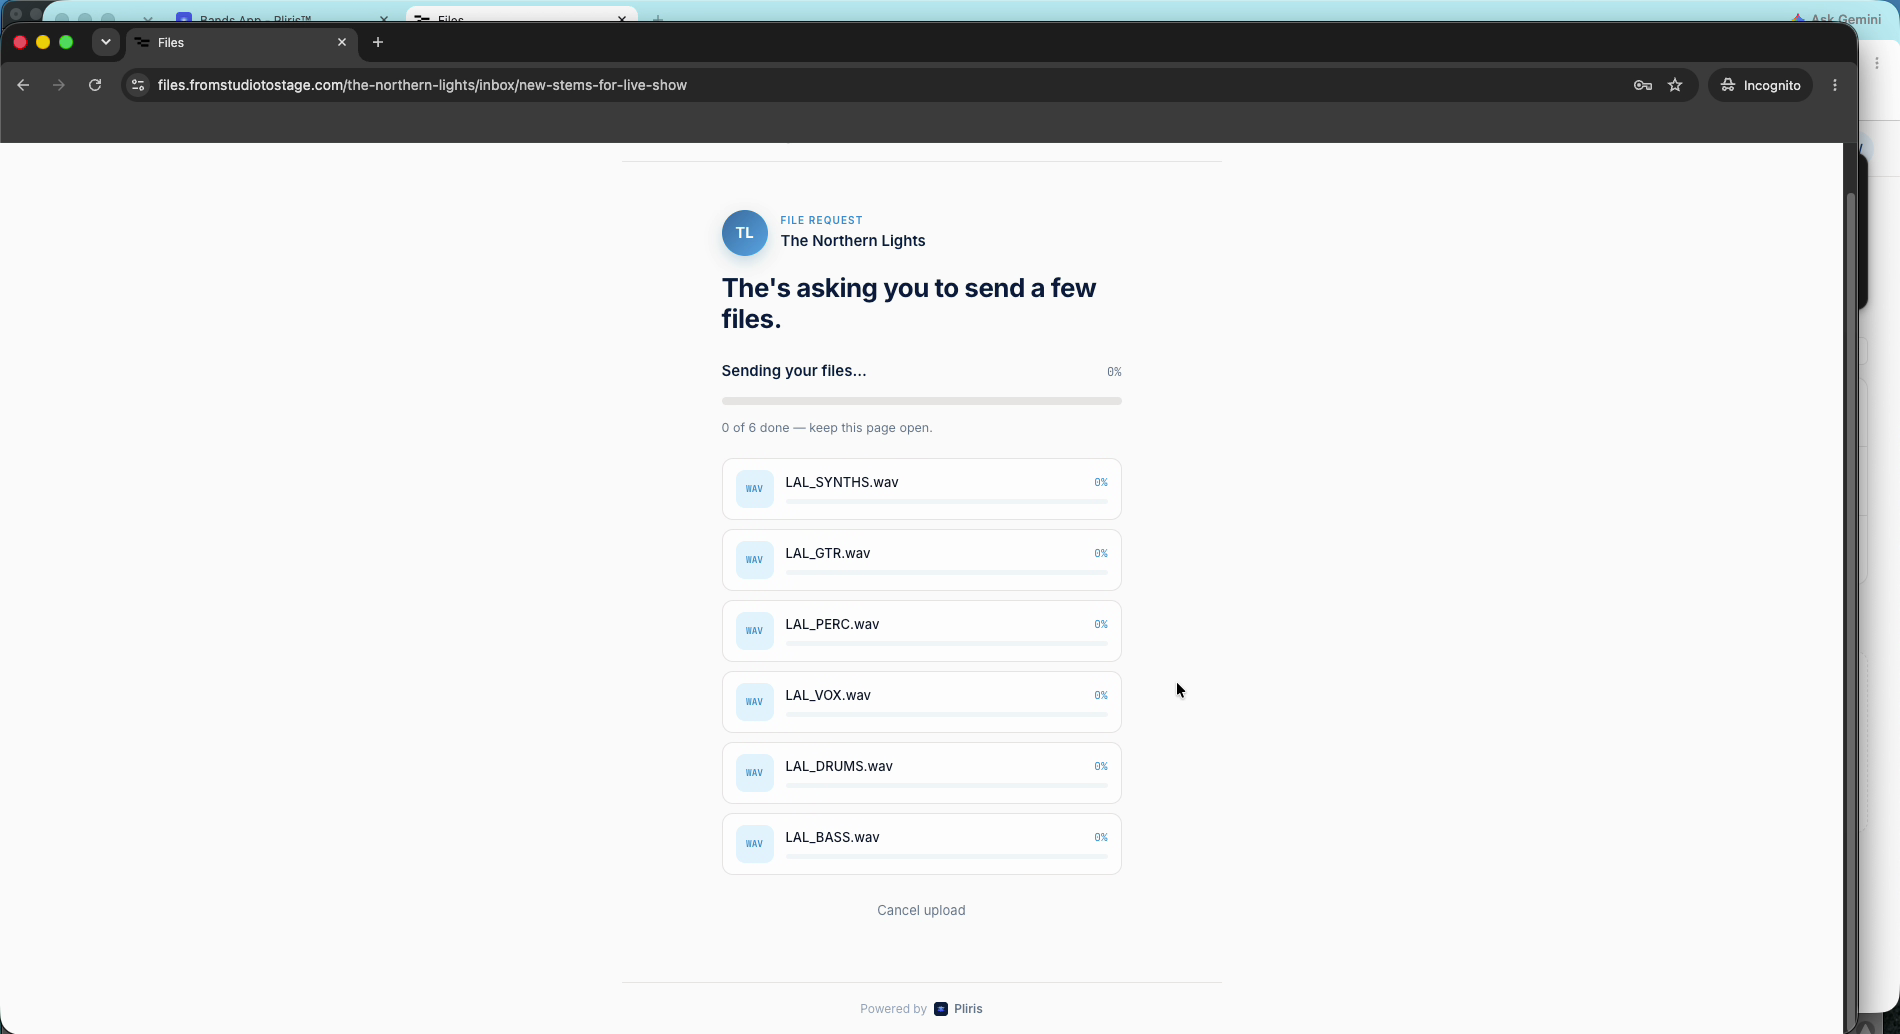
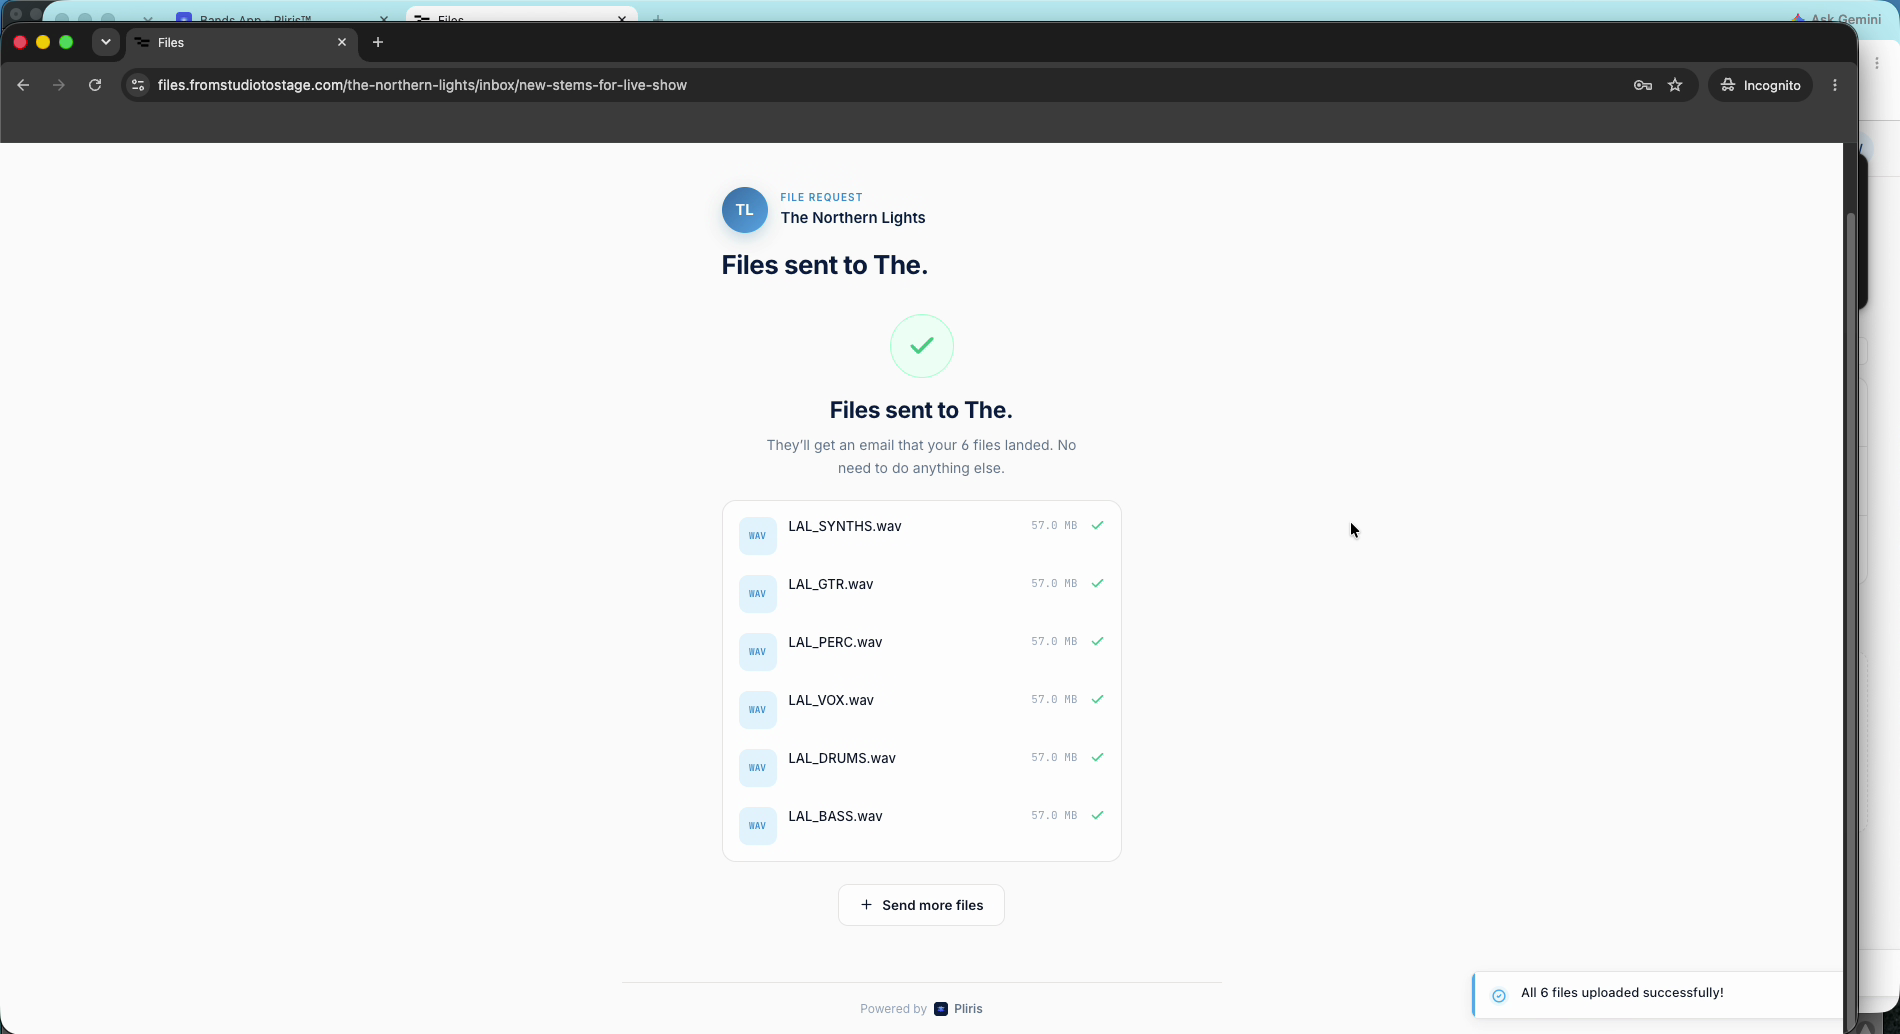
They click Send and keep the page open while the files upload over their connection. When it finishes, they can send more files if they need to, and you get an email that the files landed.
Send the drop to a song
The files arrive in your Inbox as a drop, labelled with the date and time. Imported by shows the name the sender typed. Refresh the Inbox if you don't see it yet.
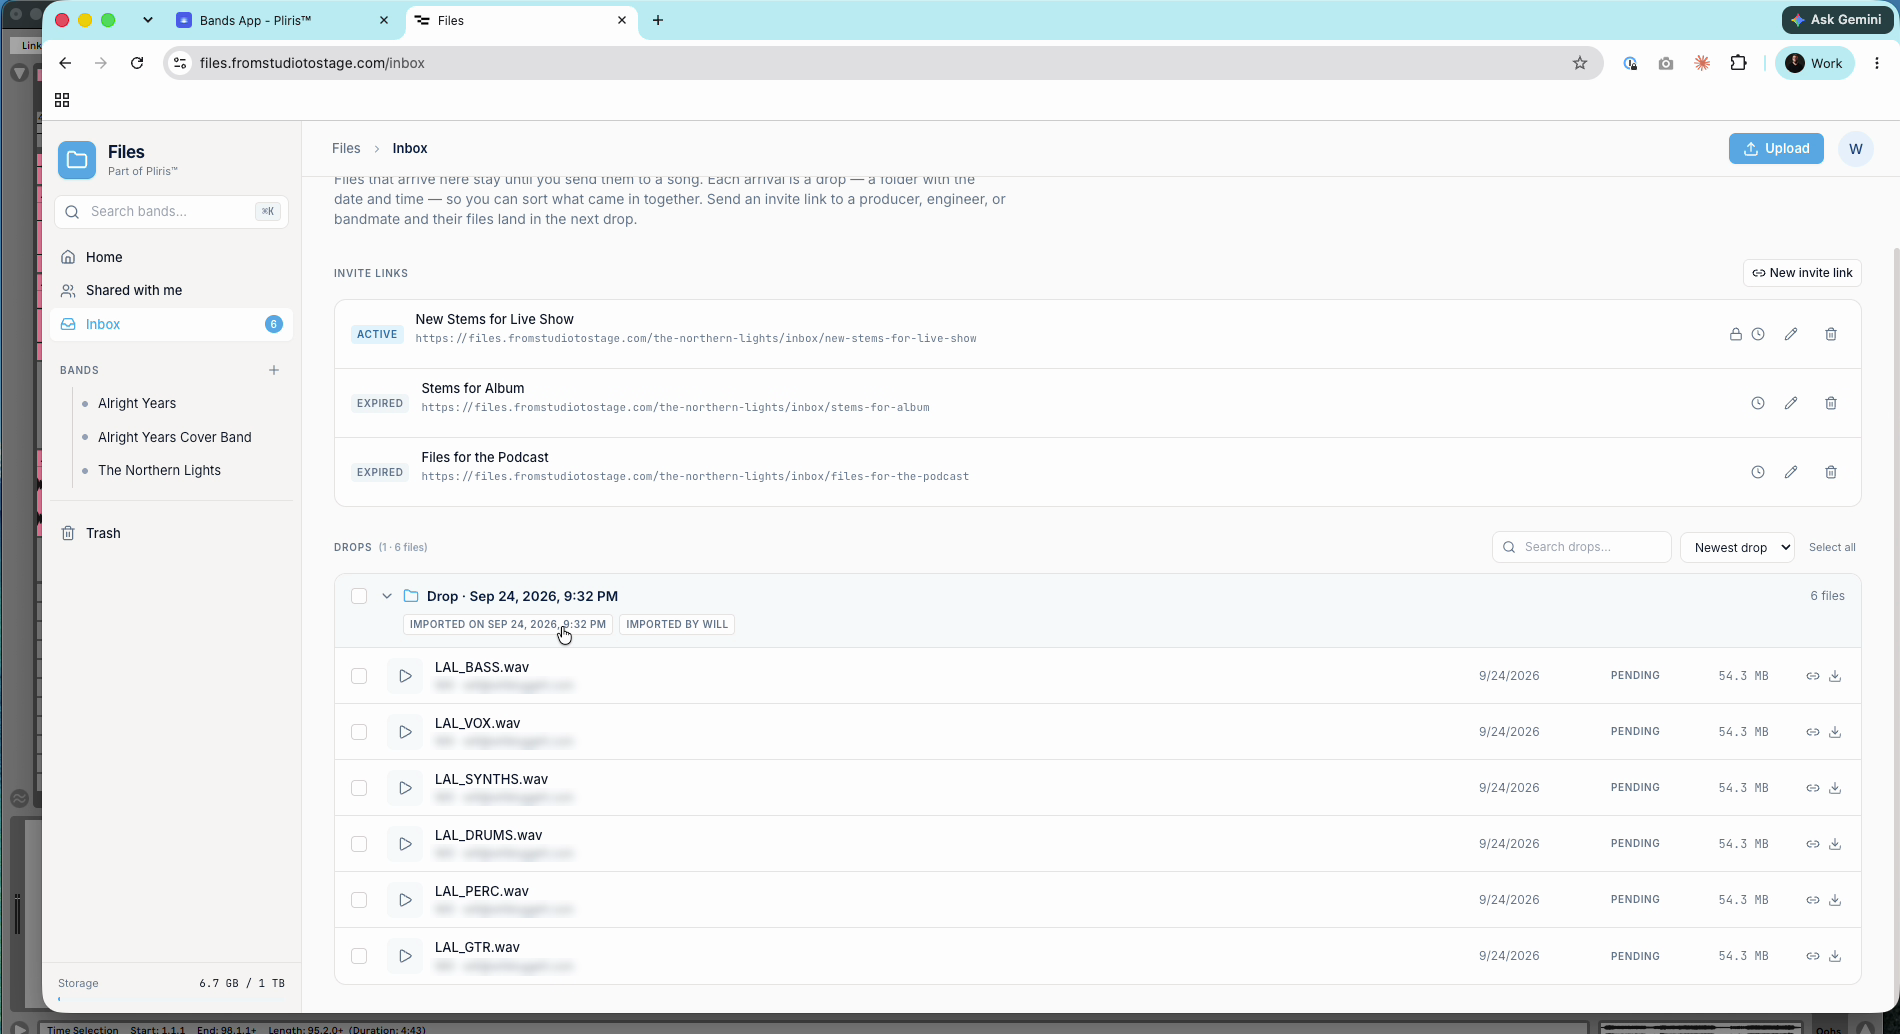
- Tick the drop to select its files, then click Add to arrangement.
- Choose the Band, then an Existing song (for example, to replace its stems) or a New song, then an Existing arrangement or a New arrangement.
- Tick the analysis you want: Key, Tempo, Time Signature and Sections (about 20 credits) and Lyrics and Chords (about 60 credits). Each is its own charge. See Credits Explained.
- Click Create & add stems.
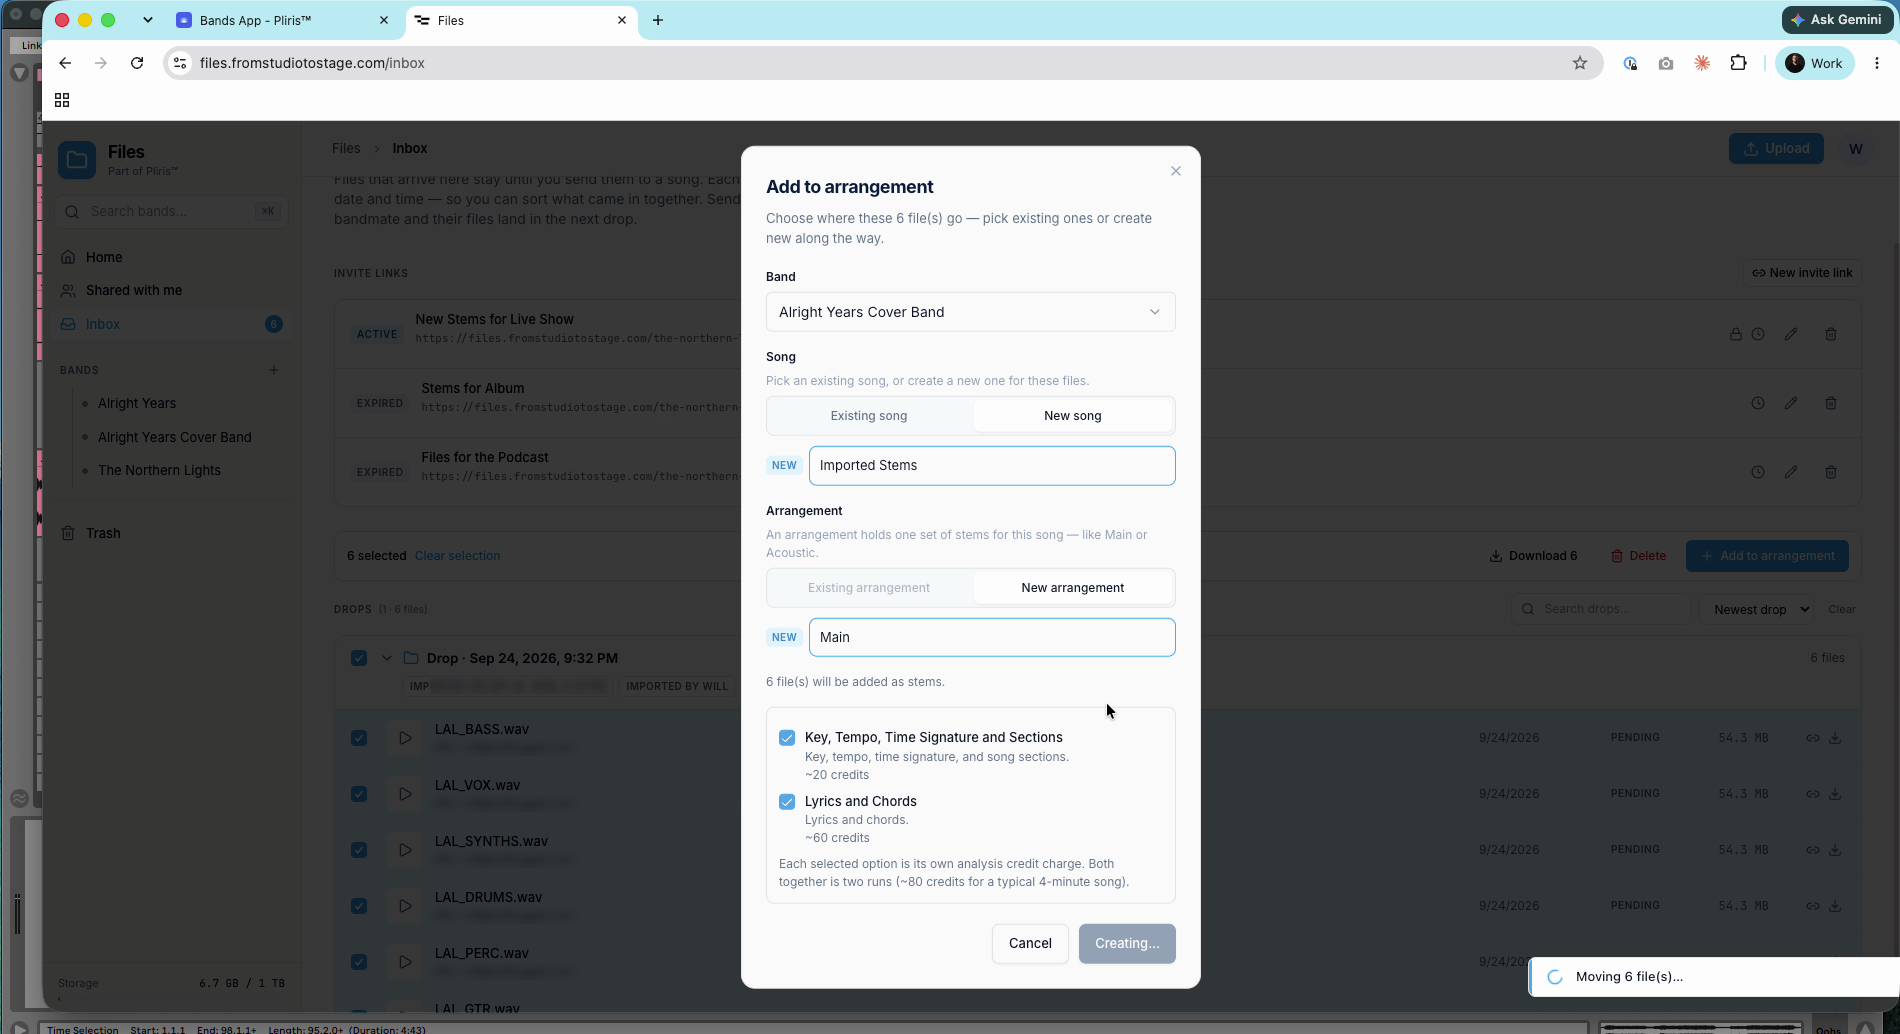
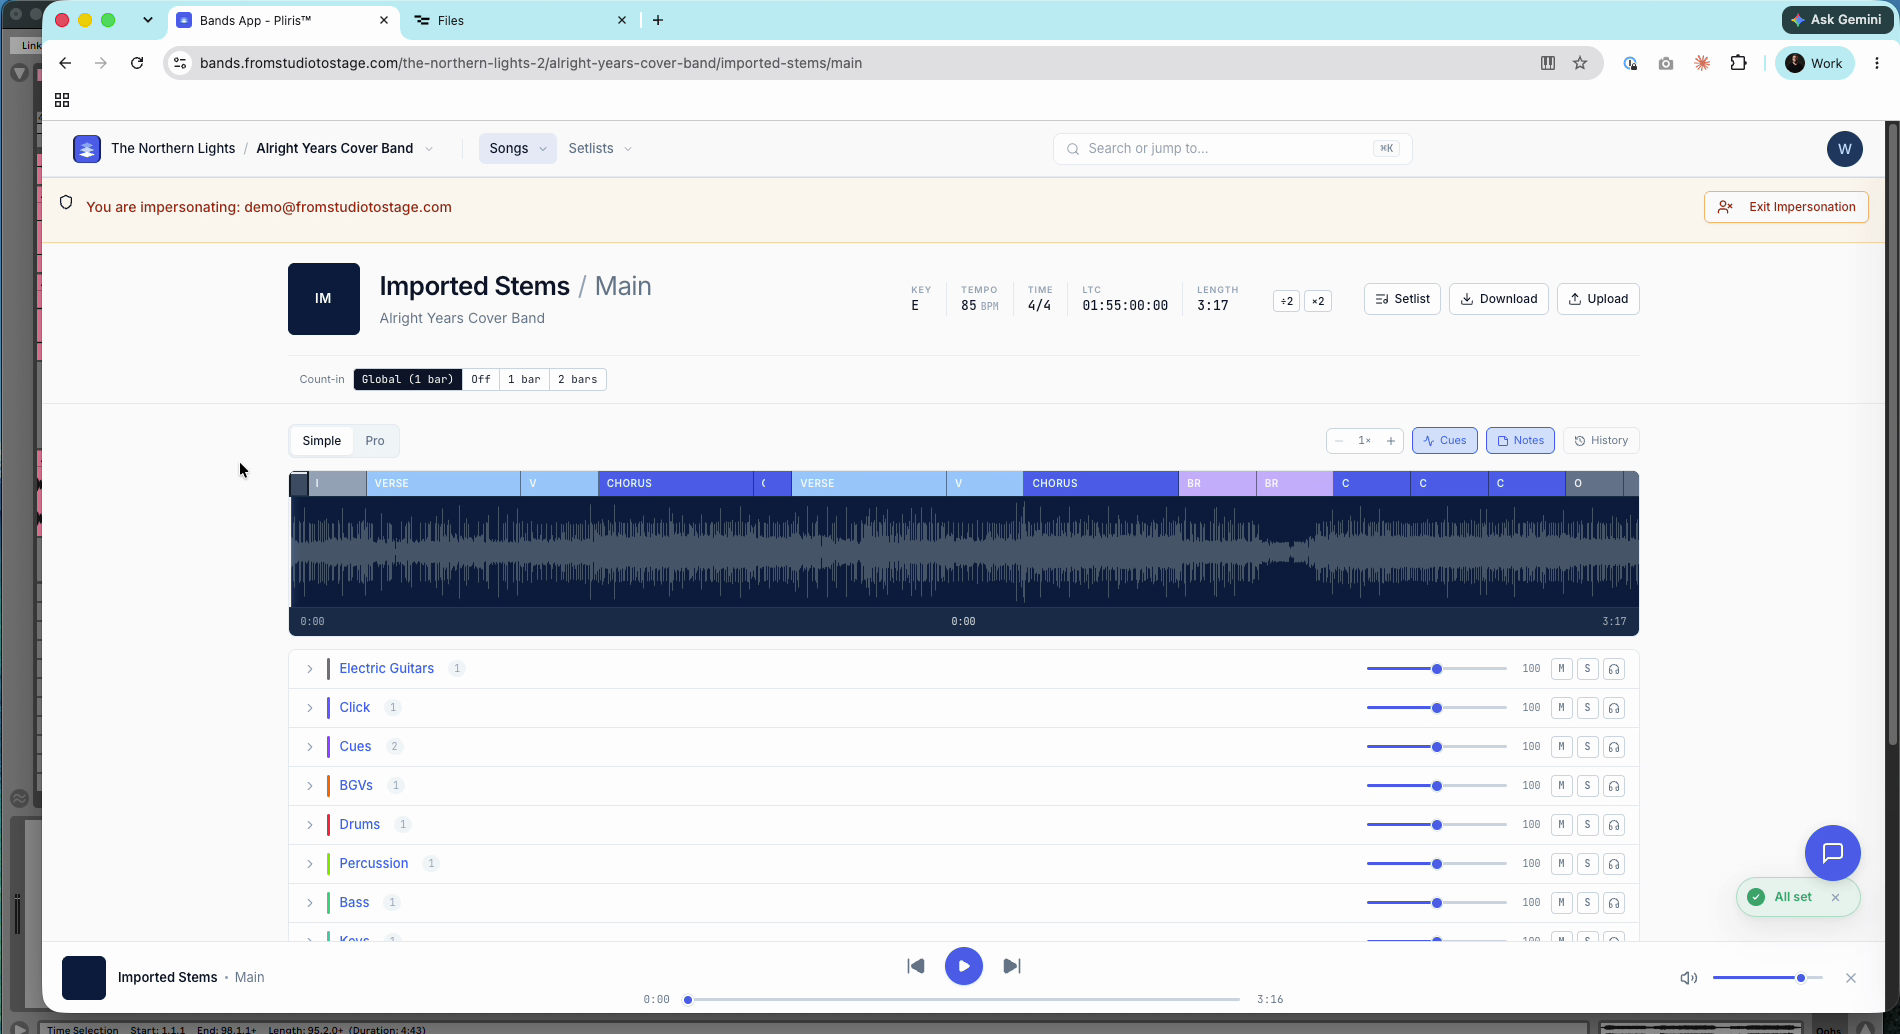
The stems move into your band and analysis starts. Sections, key, tempo and time signature arrive first, then lyrics.
Frequently asked questions
Does the person sending files need a Pliris account?
No. With Anyone with the link, they only need the link (and the password, if you set one). They enter their name and email on the upload page.
Whose internet does the upload use?
The sender's. The files go from their computer straight to your Inbox. Your connection isn't used.
How long does an invite link last?
You choose: 24 hours, 7 days, 30 days, or never. You can also switch a link off at any time with Enabled, without deleting it.
Can I limit who can upload?
Yes. Choose Only specific emails so senders have to verify their email, or add a password to the link.
Why aren't the files in my band yet?
Requested files land in your Inbox first. Select the drop and use Add to arrangement to send them to a song.